No products
To be determined
Shipping
0,00 €
Total


Published on 2017-04-04
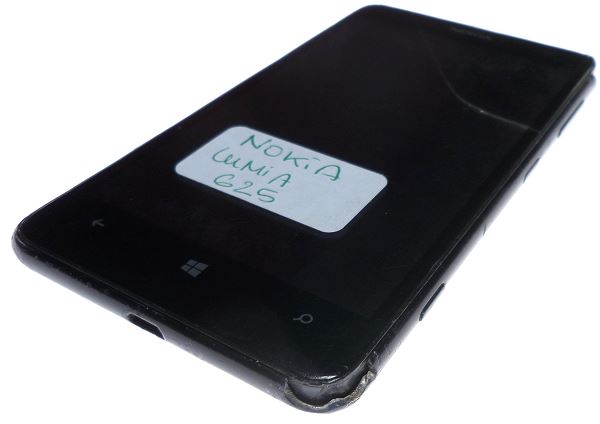
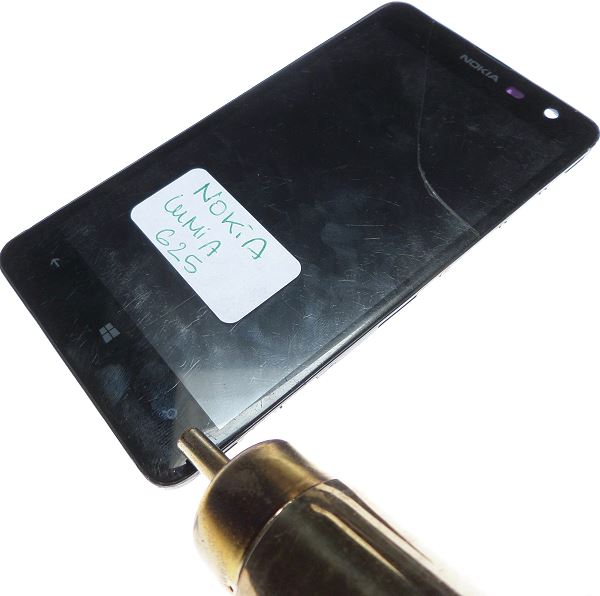
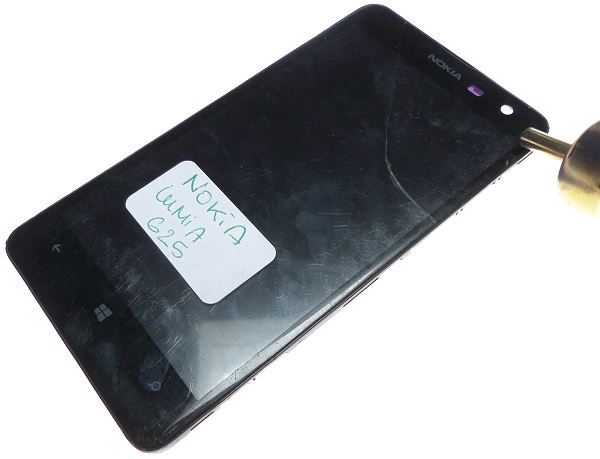
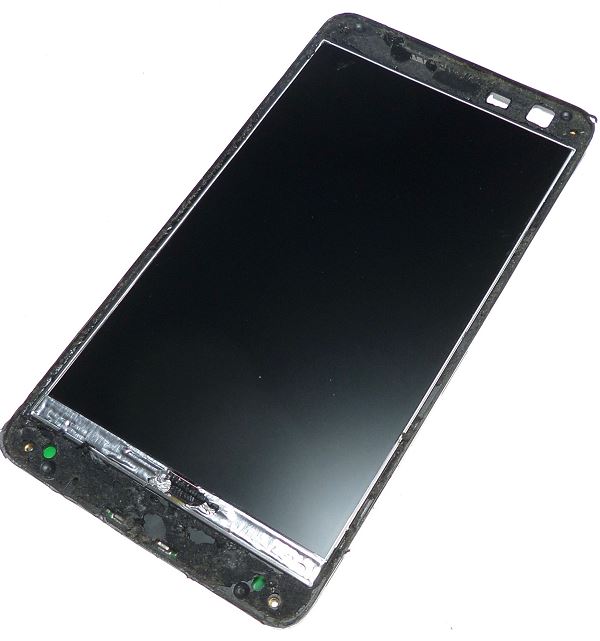
The Nokia Lumia 625 is a smartphone with a 4.7-inch Windows Phone 8.
It is equipped with a 1.2 GHz Qualcomm MSM processor. The Nokia Lumia has a 5 megapixel camera with a flash. As for flash memory, the Nokia Lumia has 8GB with the option of adding a MicroSD card up to 128 GB. Its battery has a capacity of 2000 mAh but it is not removable. Not very convenient ? ? |
But this tutorial is for you, we will disassemble the Nokia Lumia 625, which will allow you to apprehend the disassembly. Take full knowledge of the tutorial before you start disassembling.
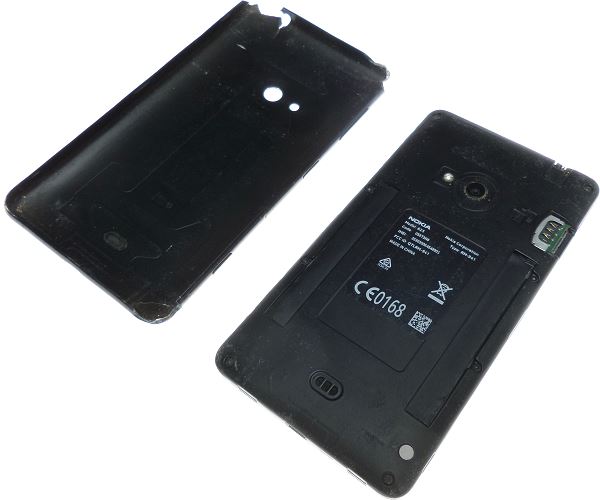
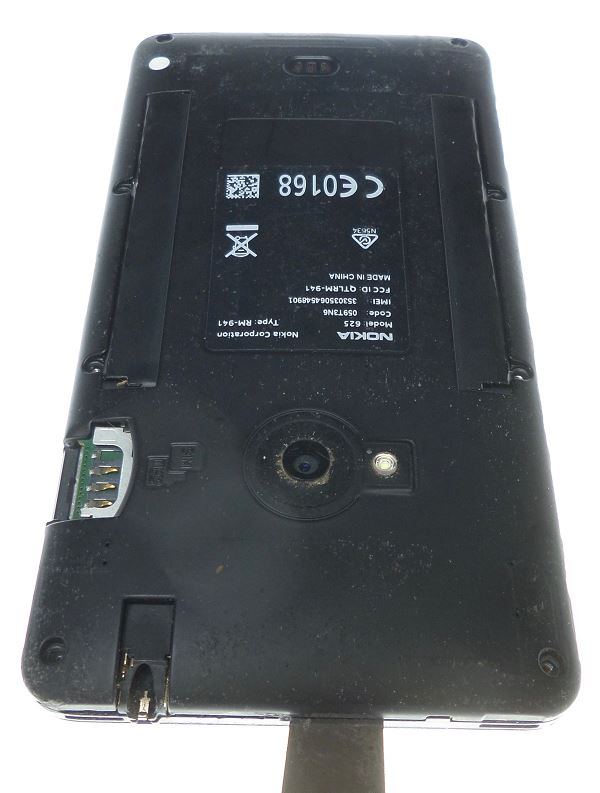
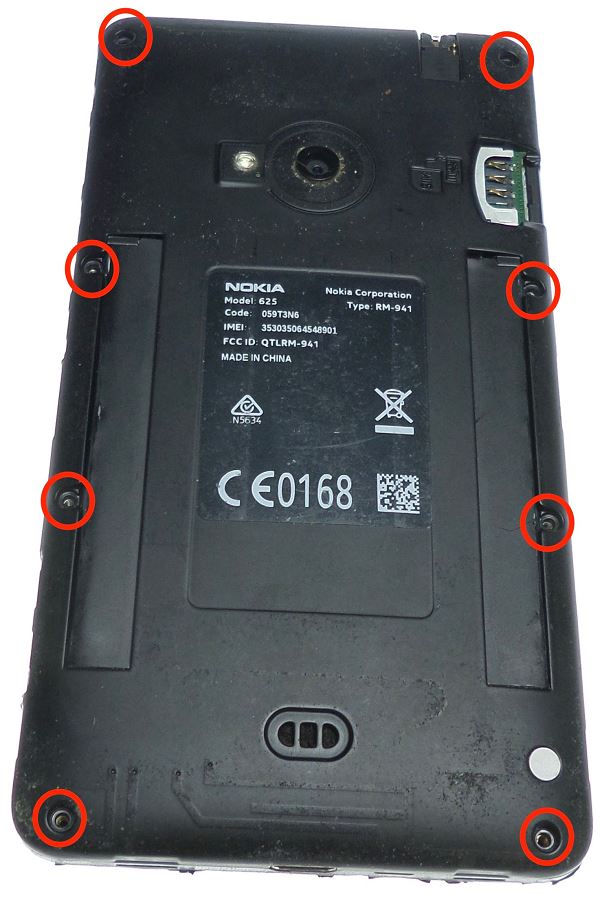
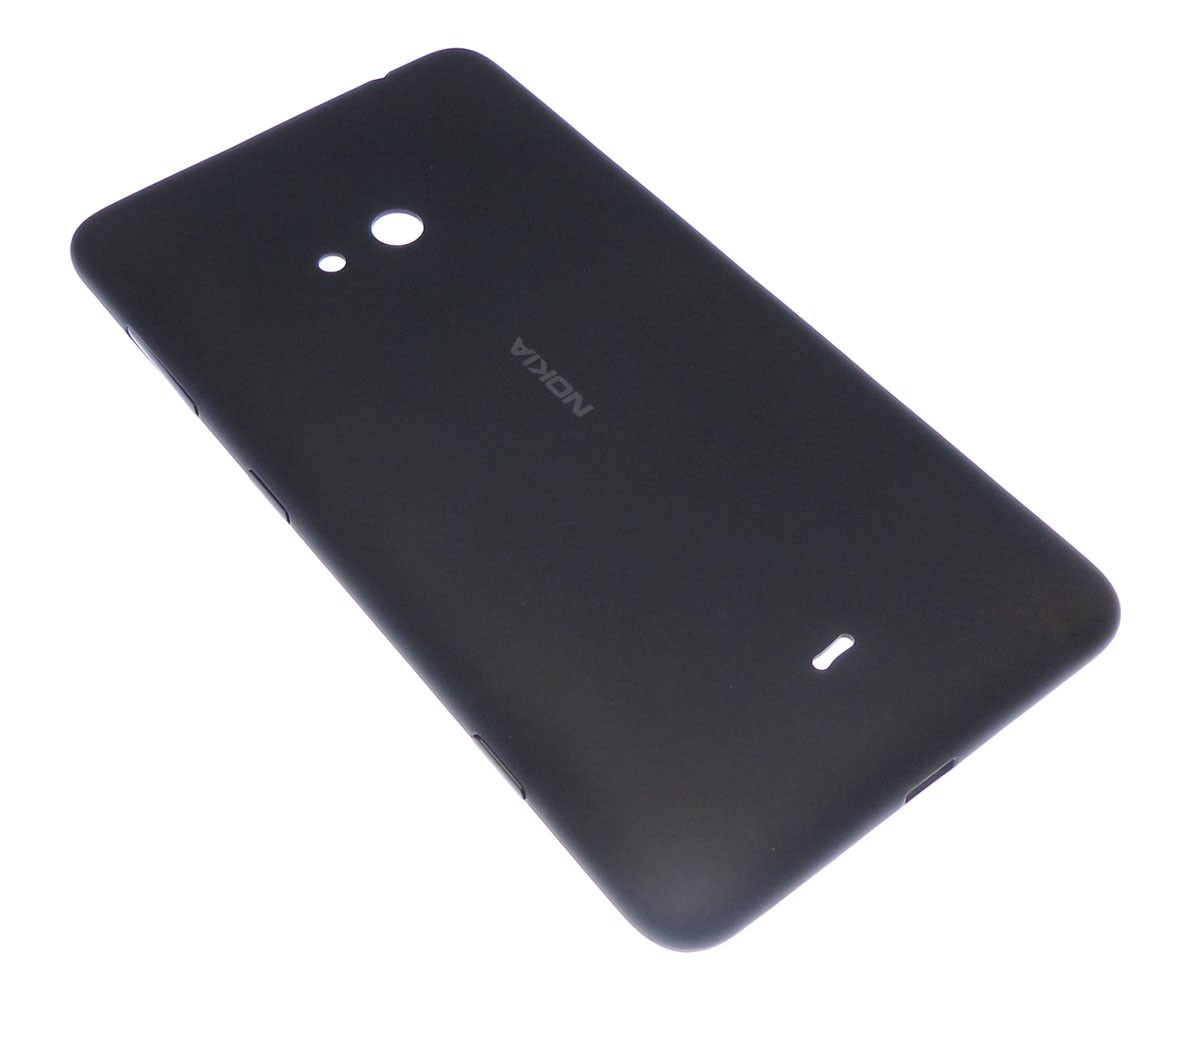
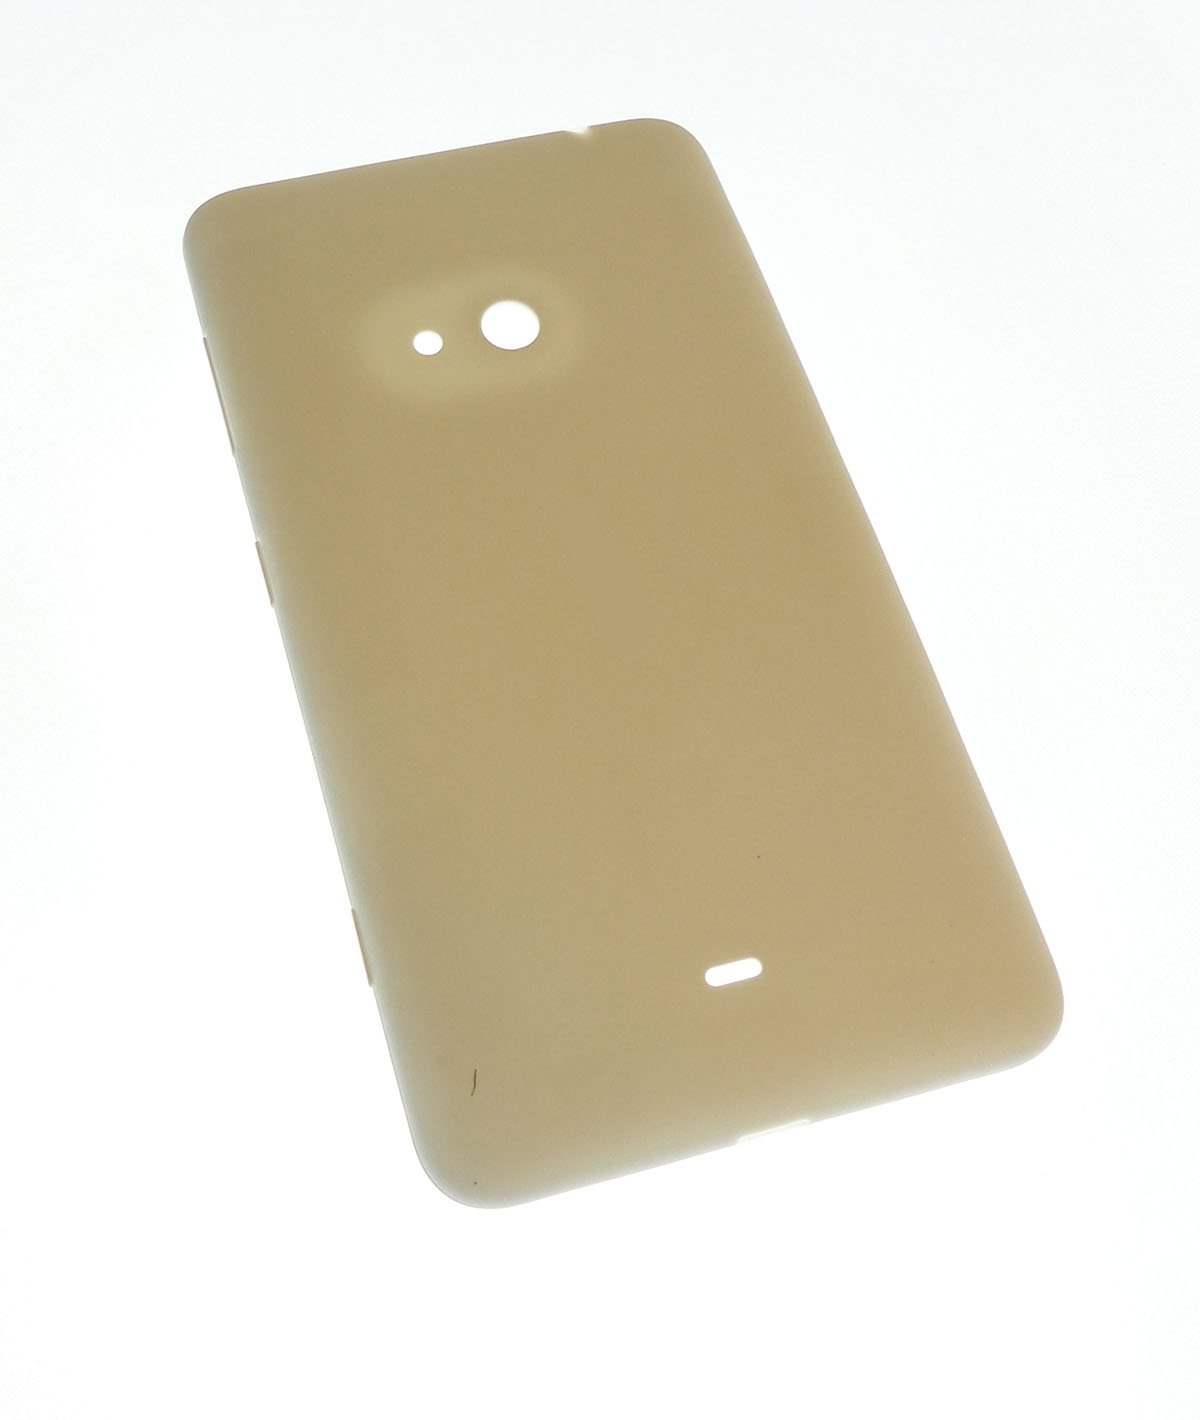
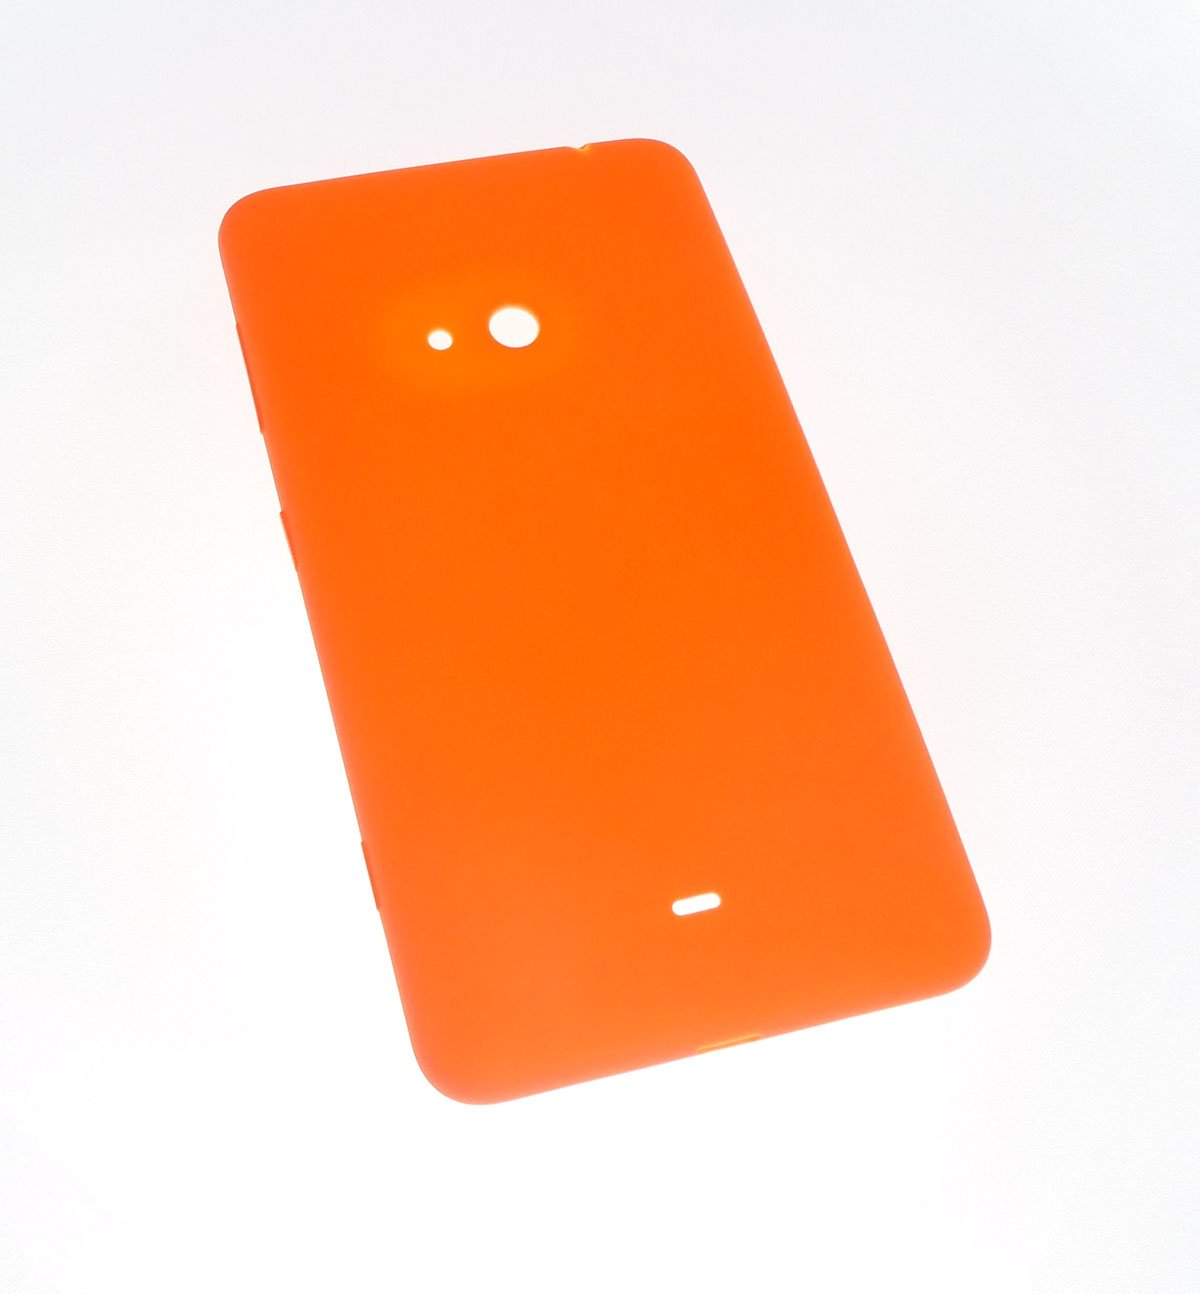
To get started, remove the backside check by hand while being careful not to break it.
For my part it is already broken, change to a new one.
? 
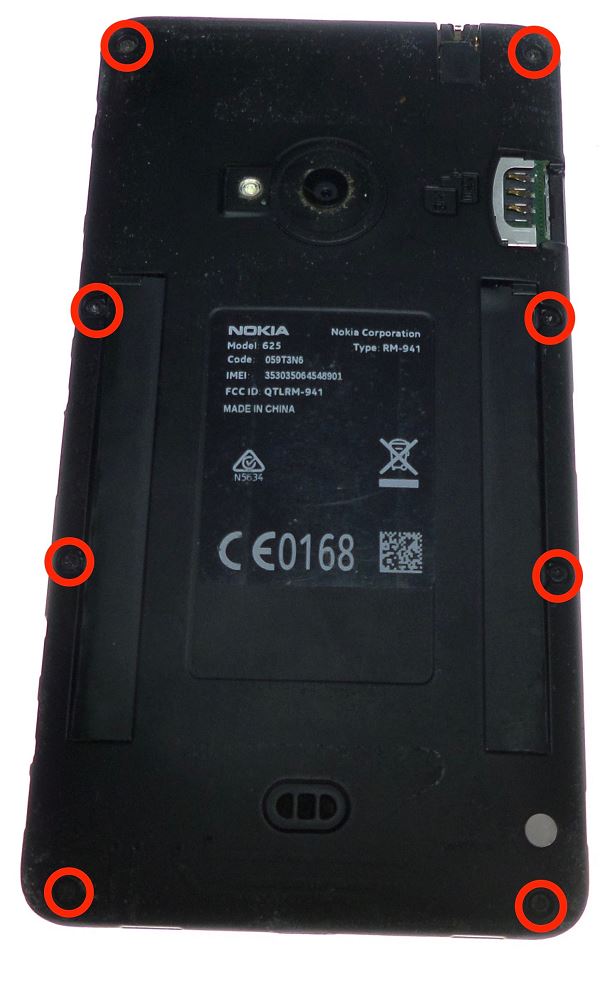
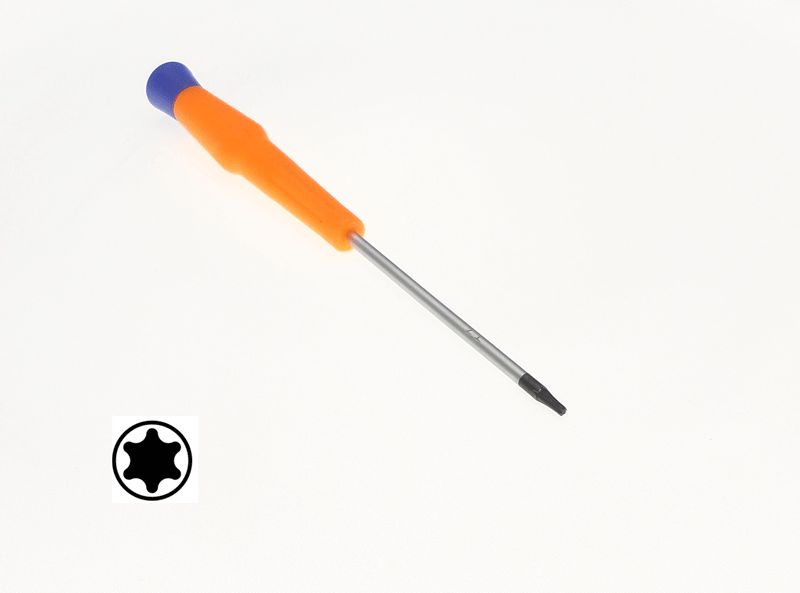
Then, using a TORX T7 screwdriver, unscrew them by pressing them so that they do not damage the
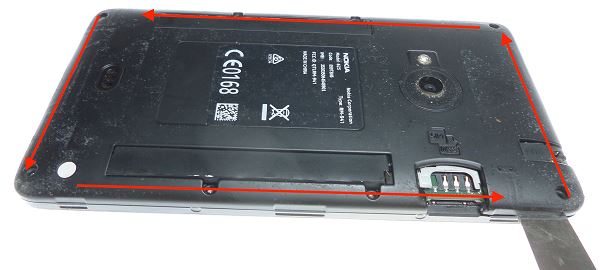
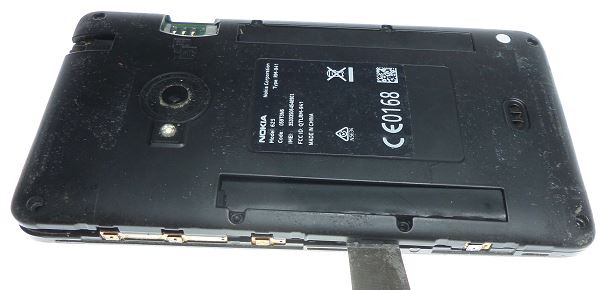
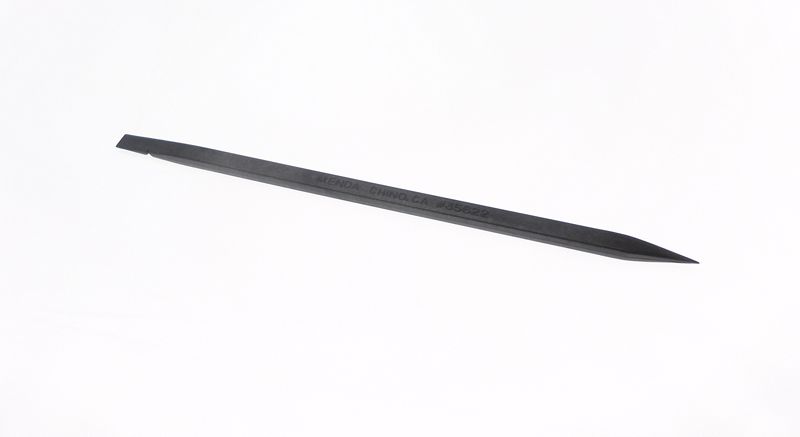
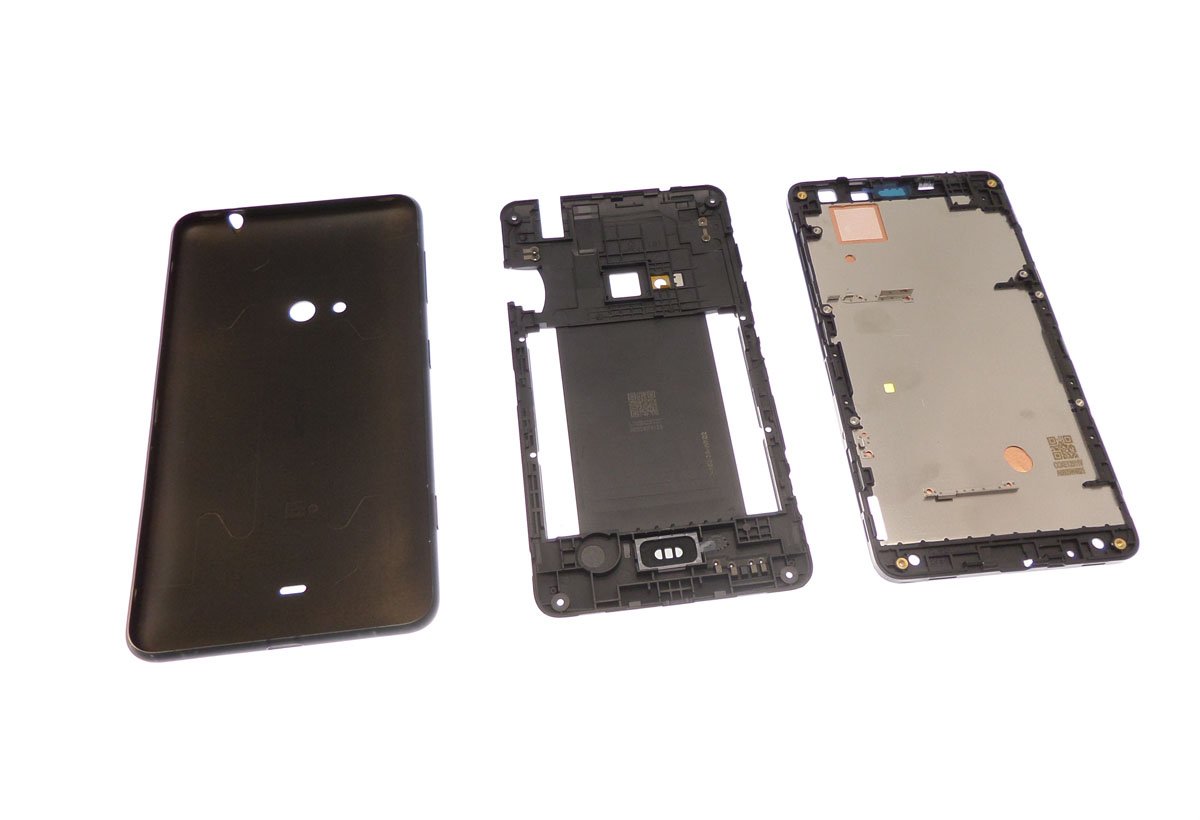
With a spatula remove the back cover.
To do this, slide the spatula between the chassis and the cover as shown in the picture. Then go around while making movements on the axis of the spatula in order to blow up the clips retaining the back cover. Be careful not to over force because the cover is a fairly flexible but easily breakable piece.
? 
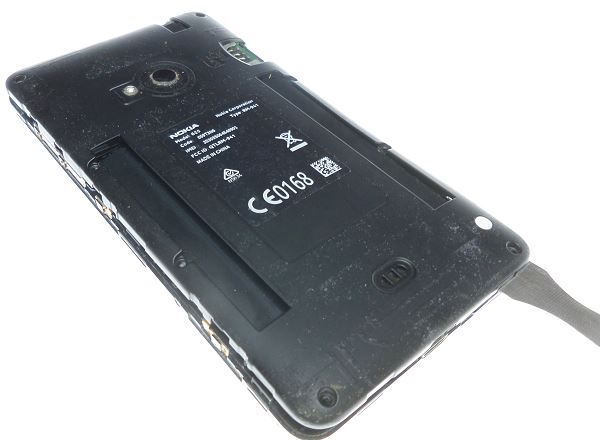
 all clips have jumped out, remove the back cover by hand.
>
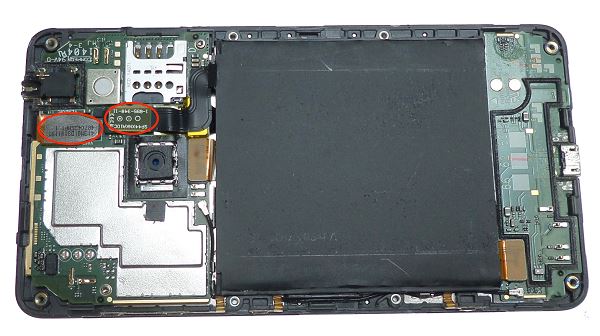
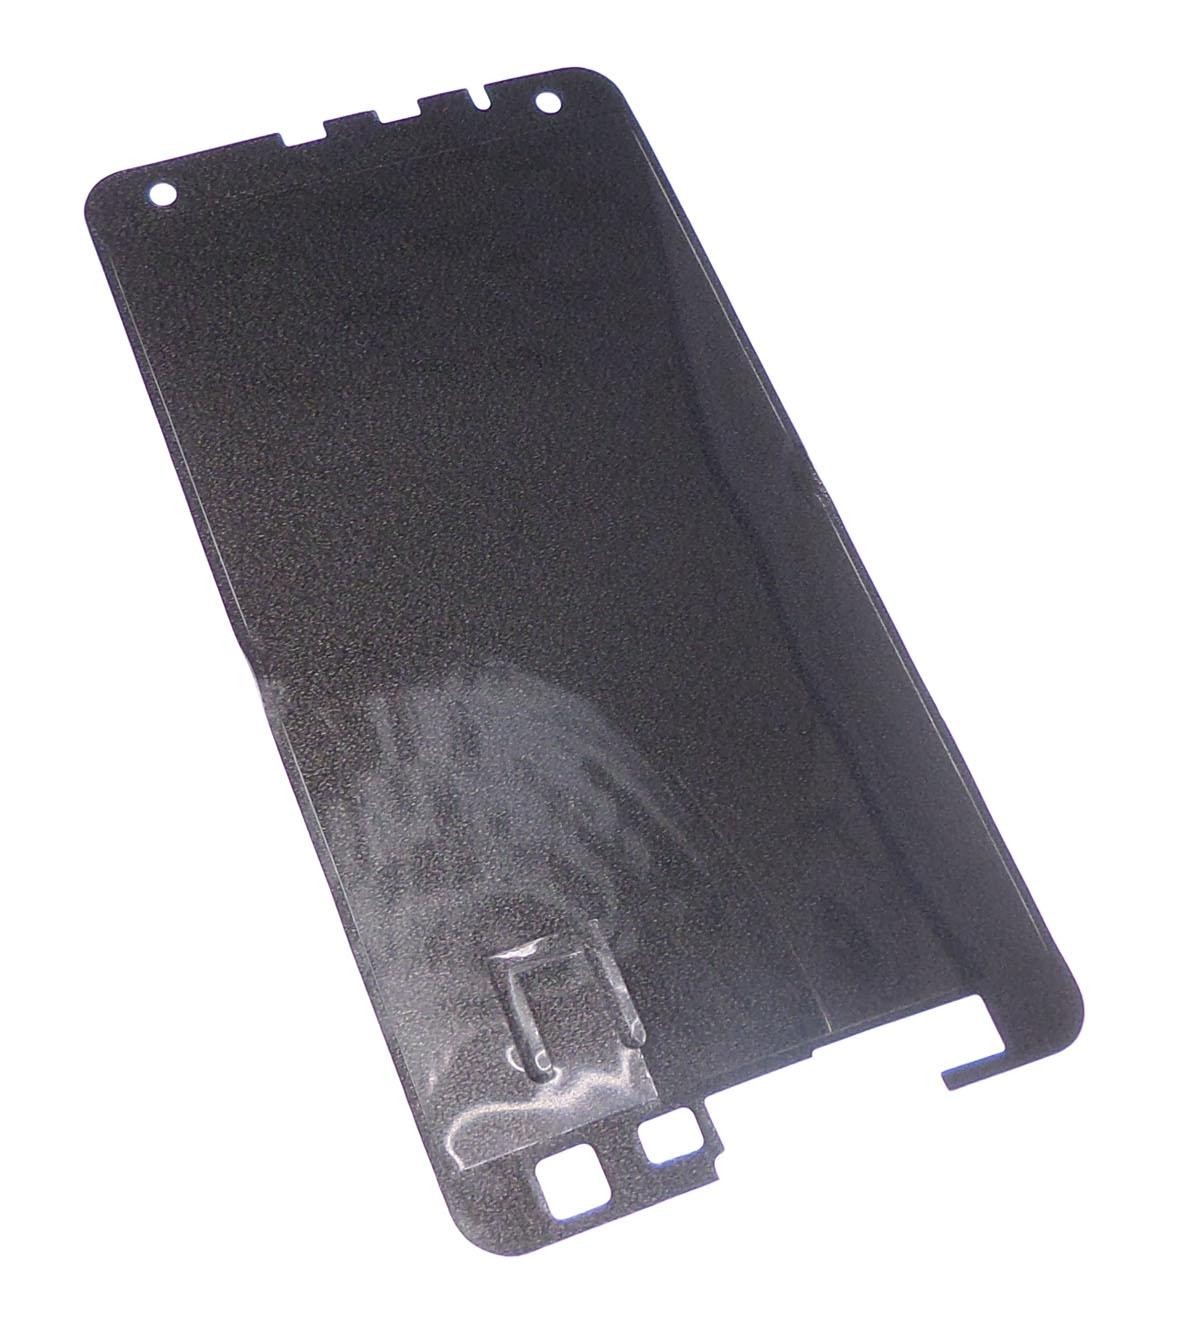
Find the two layers using the photo (surrounded in red)
Then, using a plastic spatula, remove the first tablecloth by making a small lever movement as in the picture. Do not force the tablecloth off easily.
Play the same movement on the second table.
Then, with the help of a spatula remove the battery by doing a lever movement as indicated on the picture. Caution, do not force the spatula to damage the battery, or even worse, pierce it. This can be dangerous.
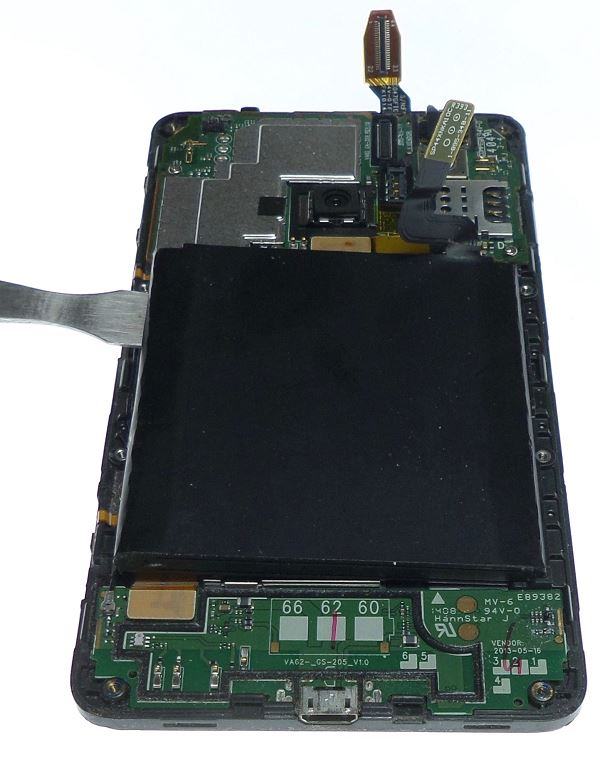
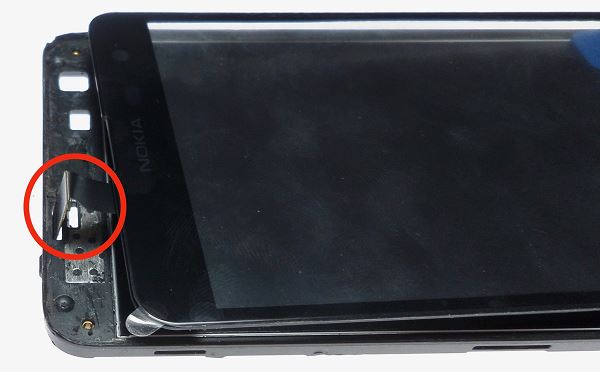
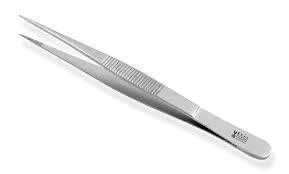
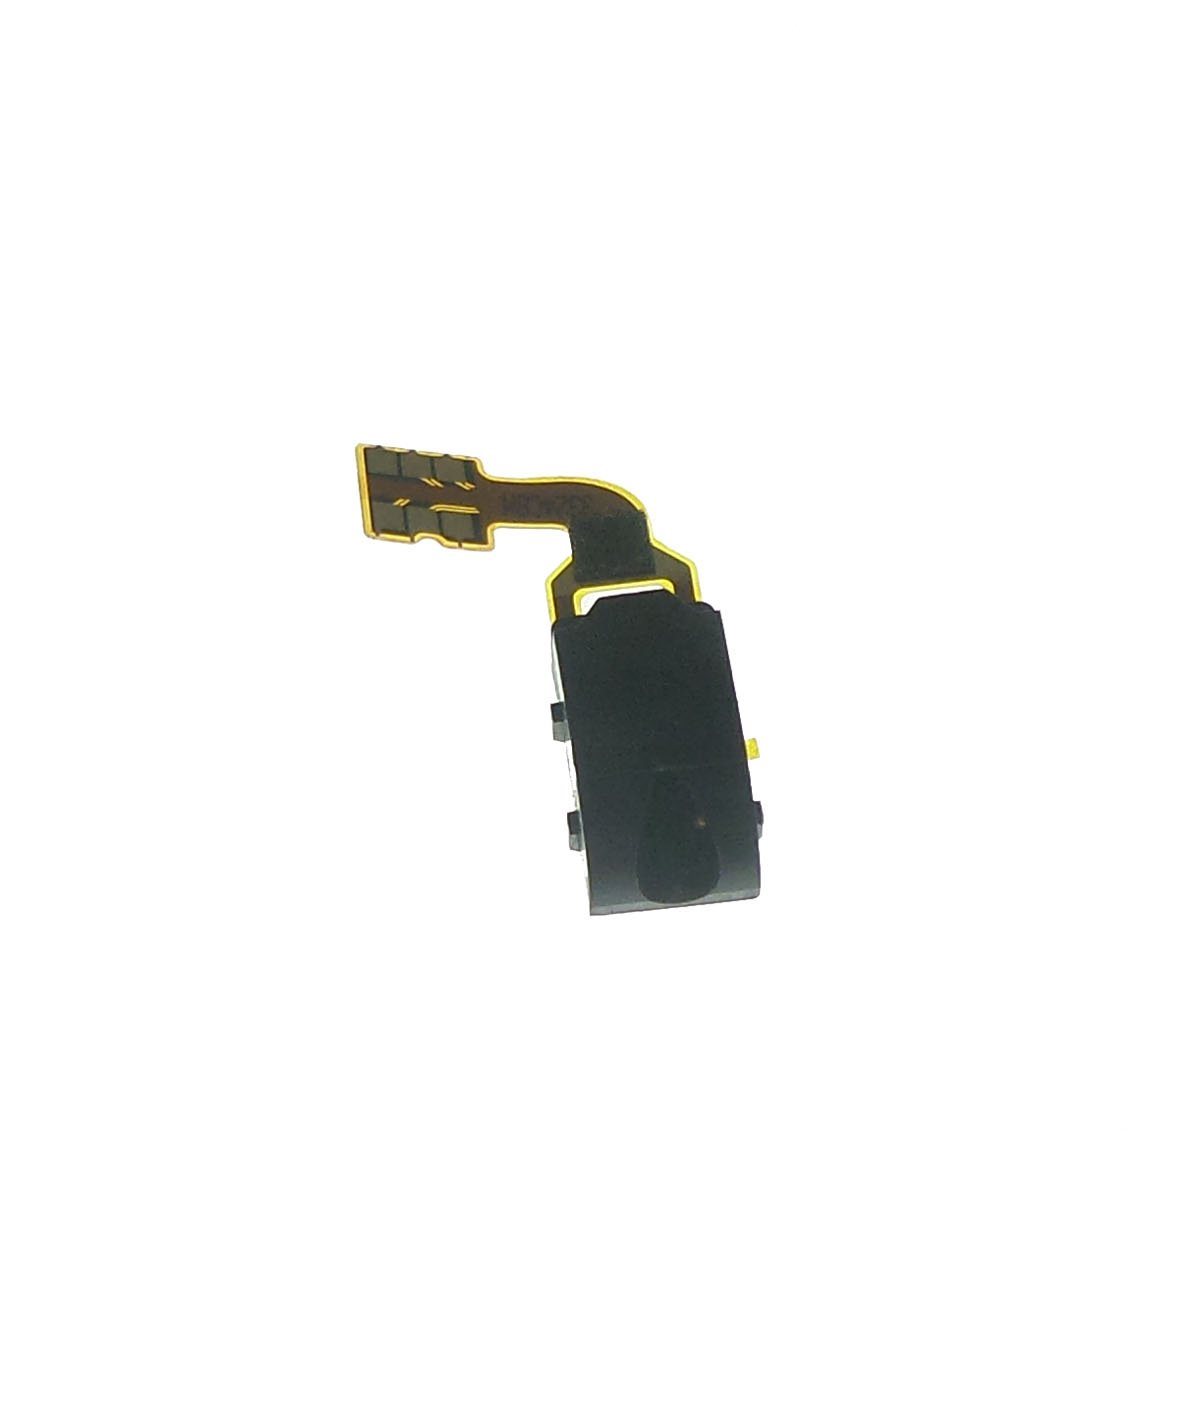
Using a pair of pliers, carefully remove the tablecloth by pulling upwards as shown in the picture.
the plastic spatula then remove the tablecloth carefullyby making a small leverage.
 ?
?
Then reproduce the same manipulation on the following table, slightly bend the tablecloths that have been removed to remove the motherboard without discomfort, do not bend them
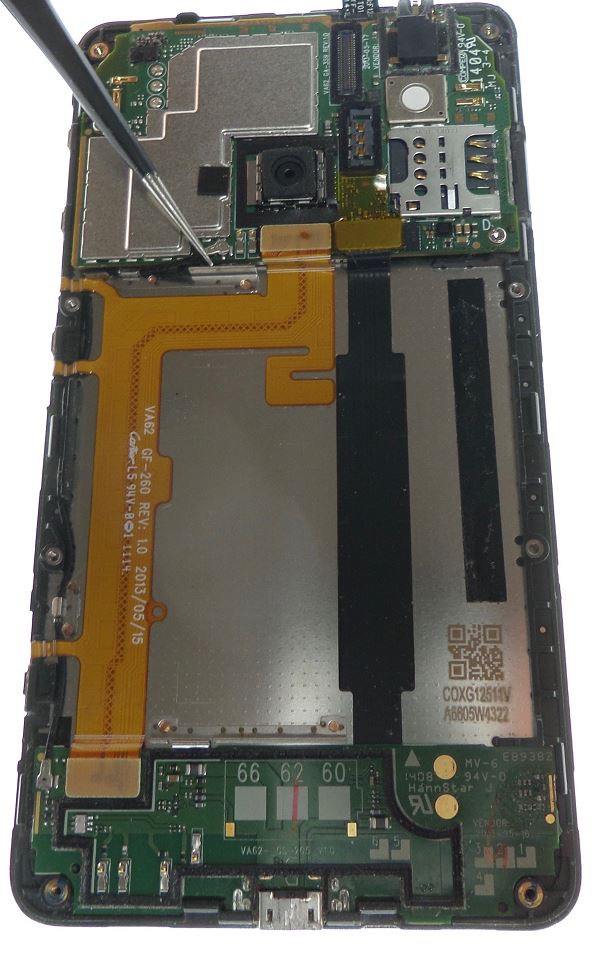
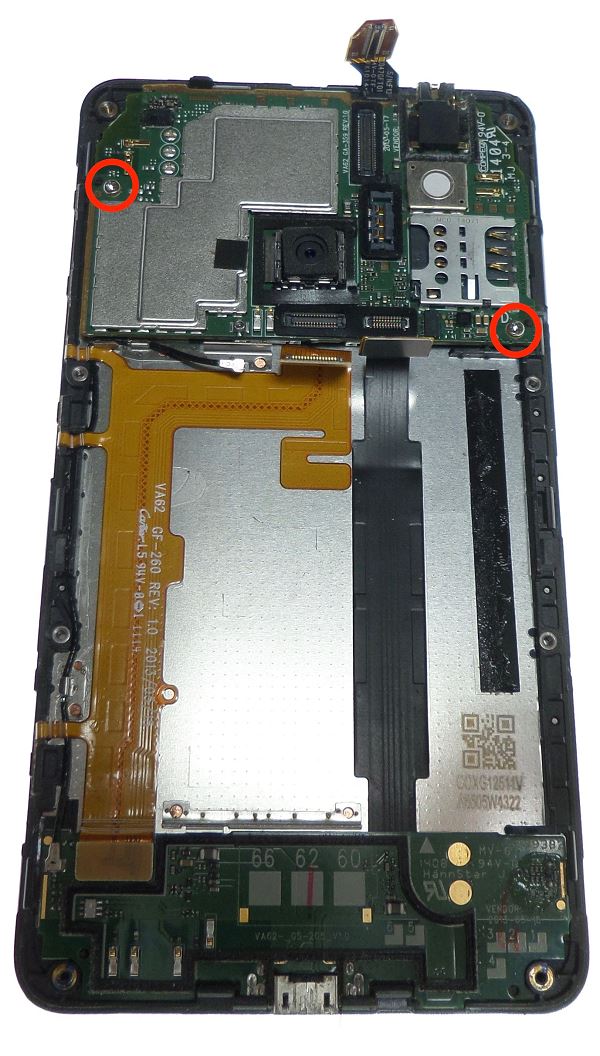
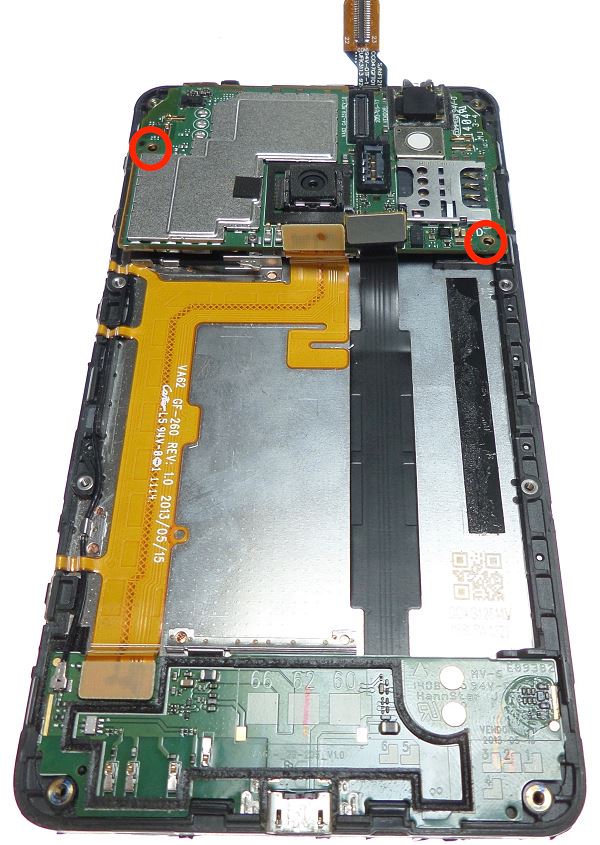
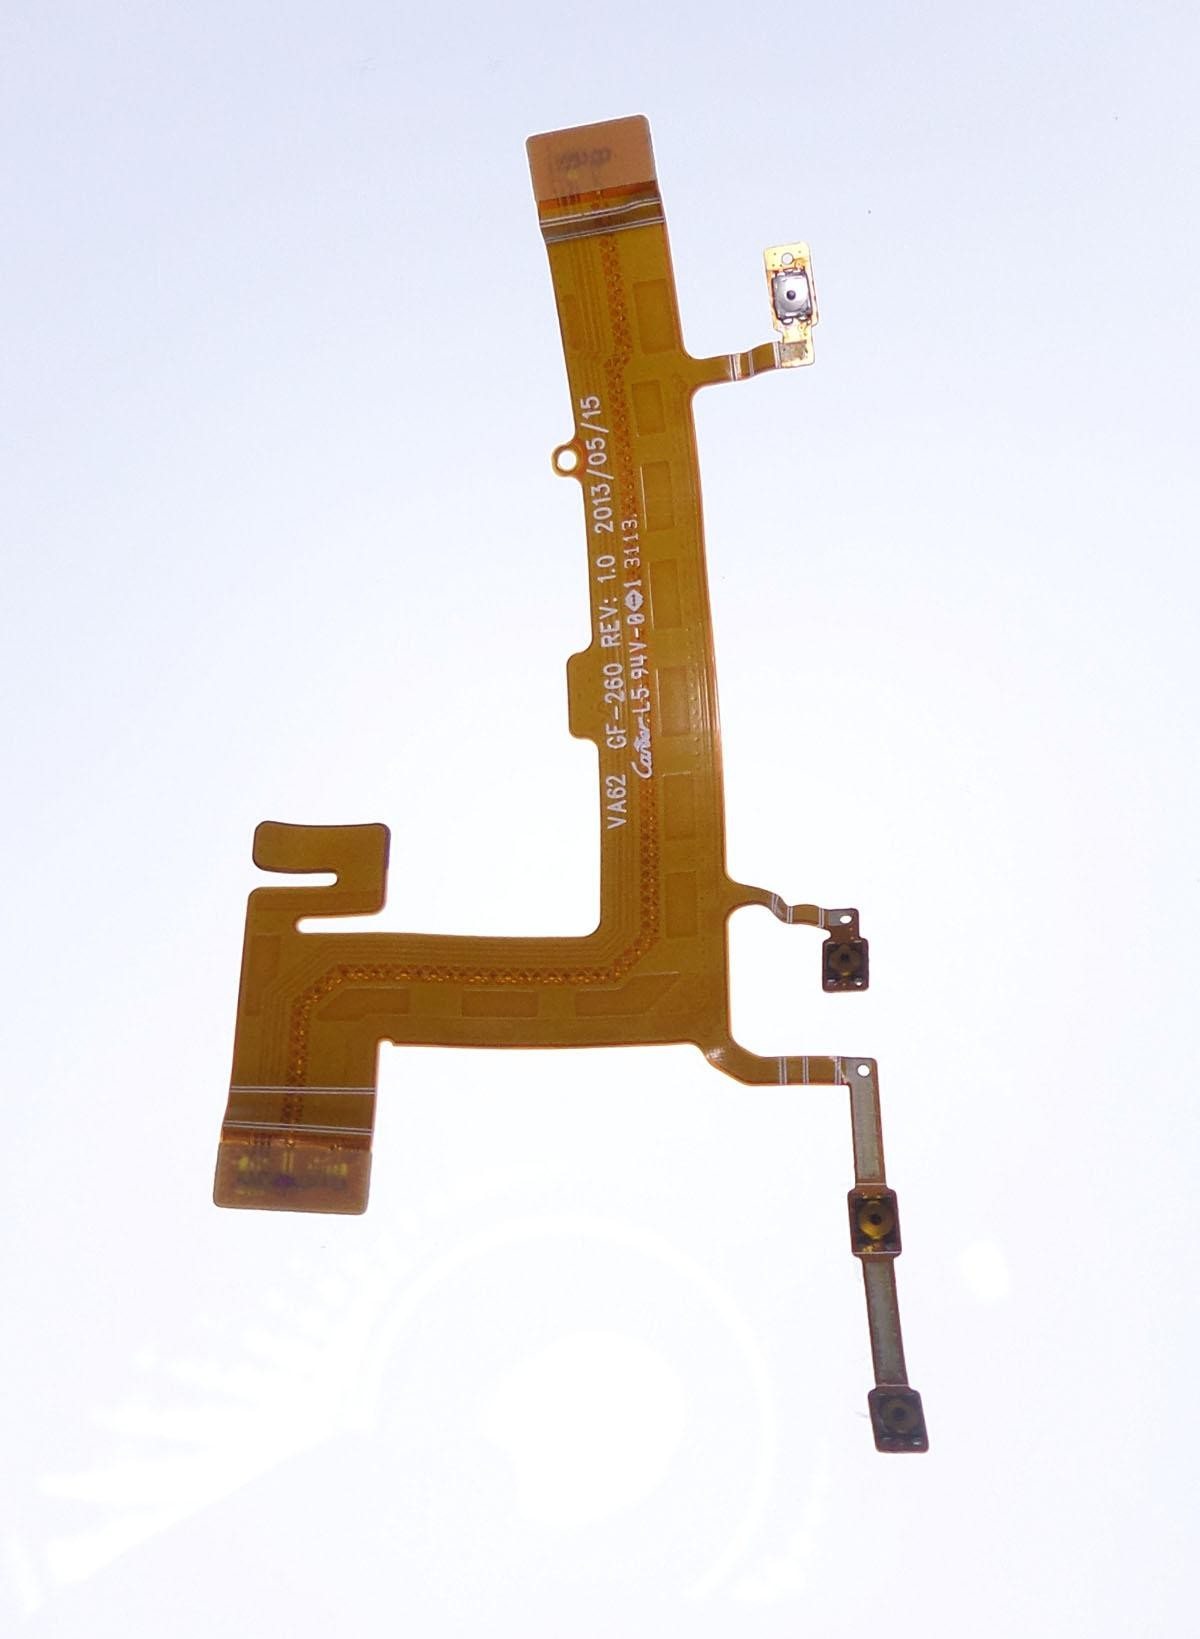
Locate the 2 screws using the photo.
Then, using a TORX T7 screwdriver, unscrew the screws by pressing them down in order not to damage them. p>
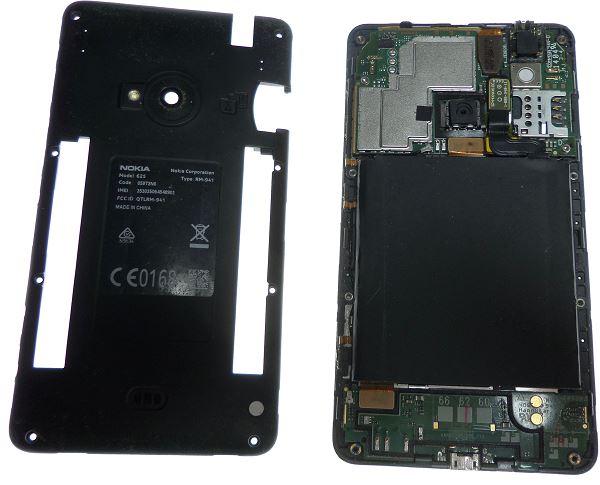
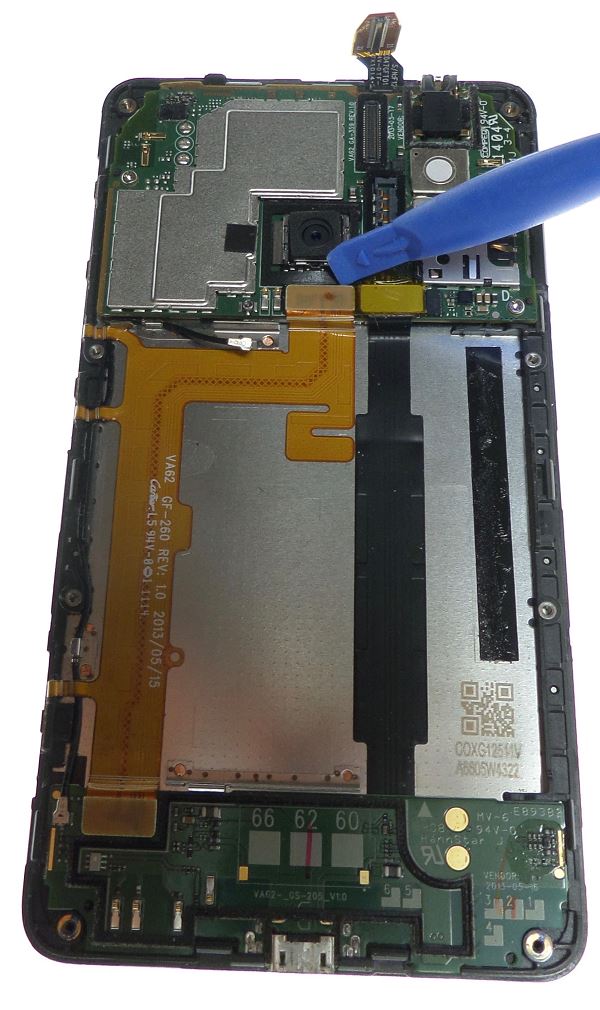
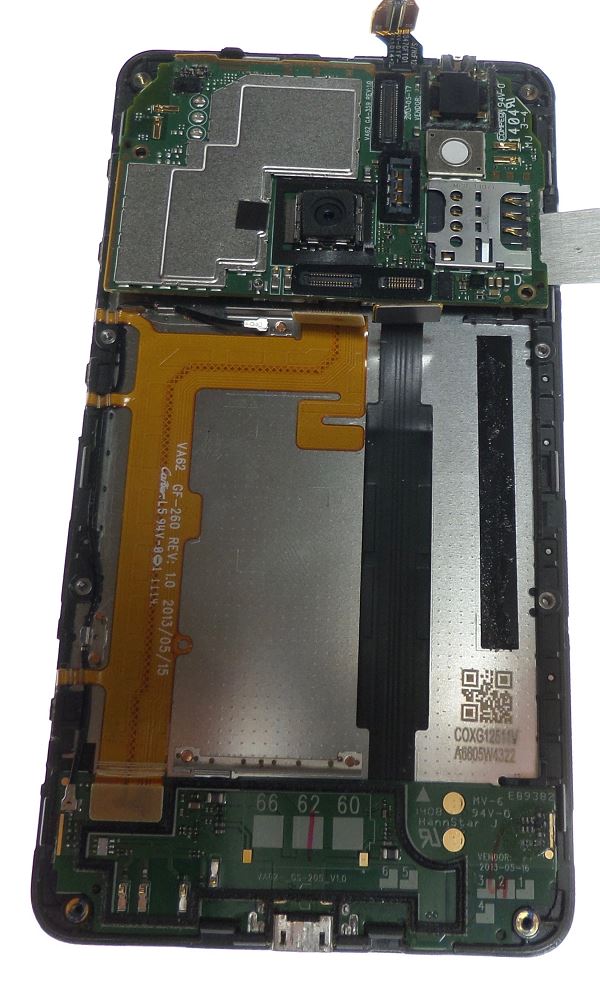
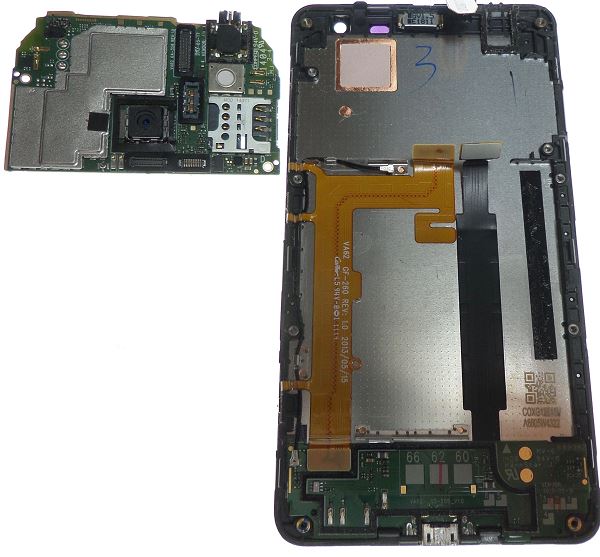
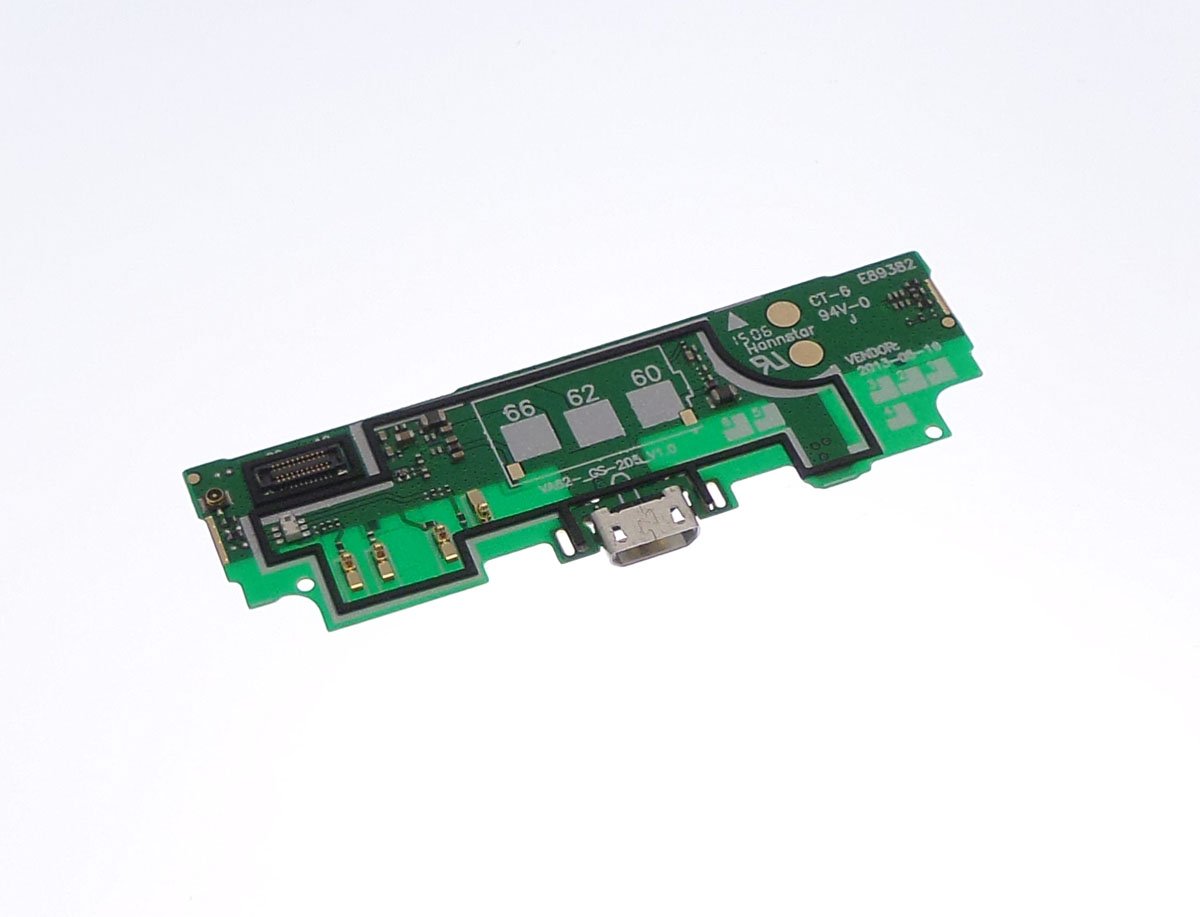
with a spatula remove the motherboard. To do this, slide the spatula between the motherboard and the chassis and then make a lever movement and then catch and remove it by hand.
Handle it with the greatest care because the motherboard is the most expensive component of the smartphone.
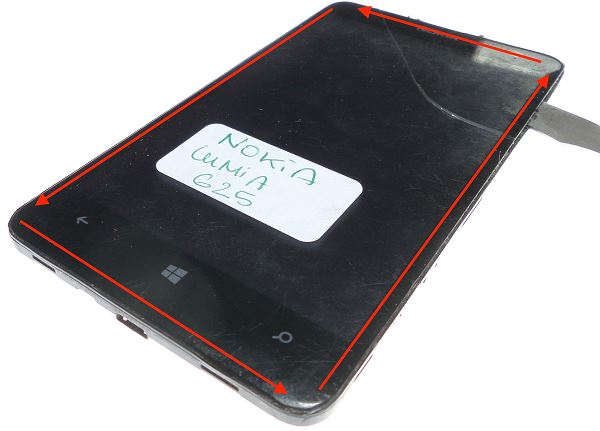
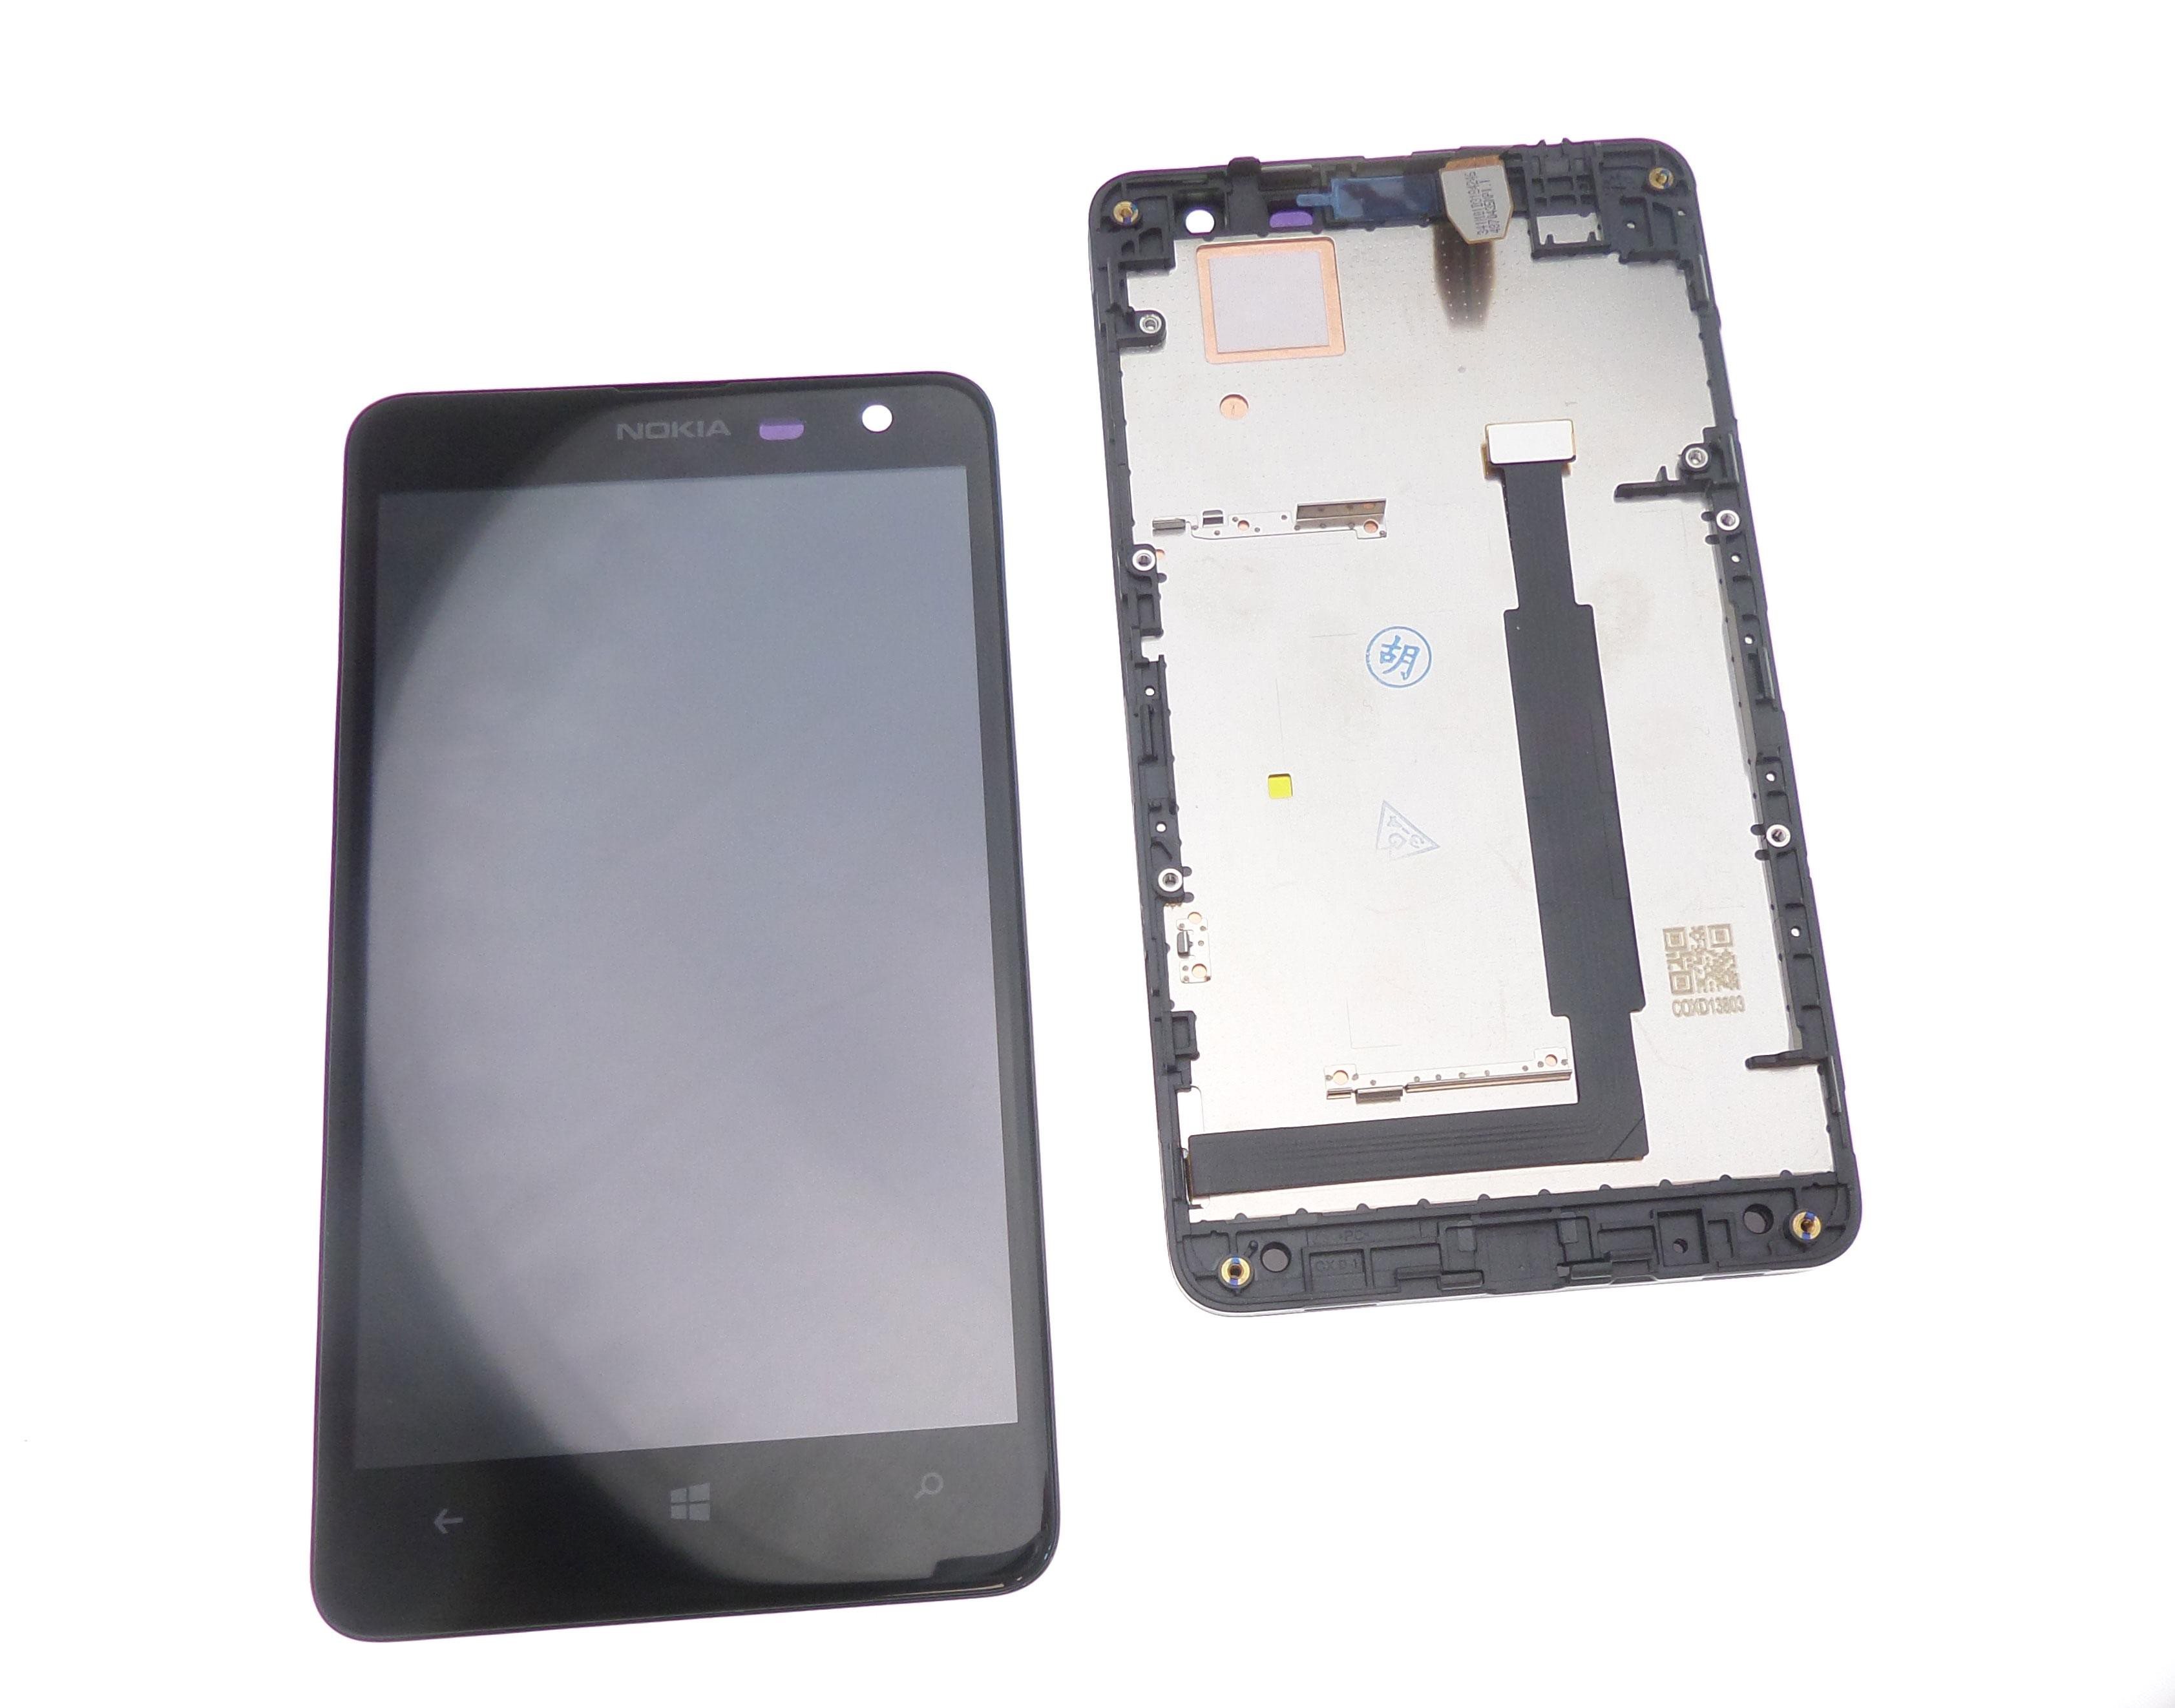
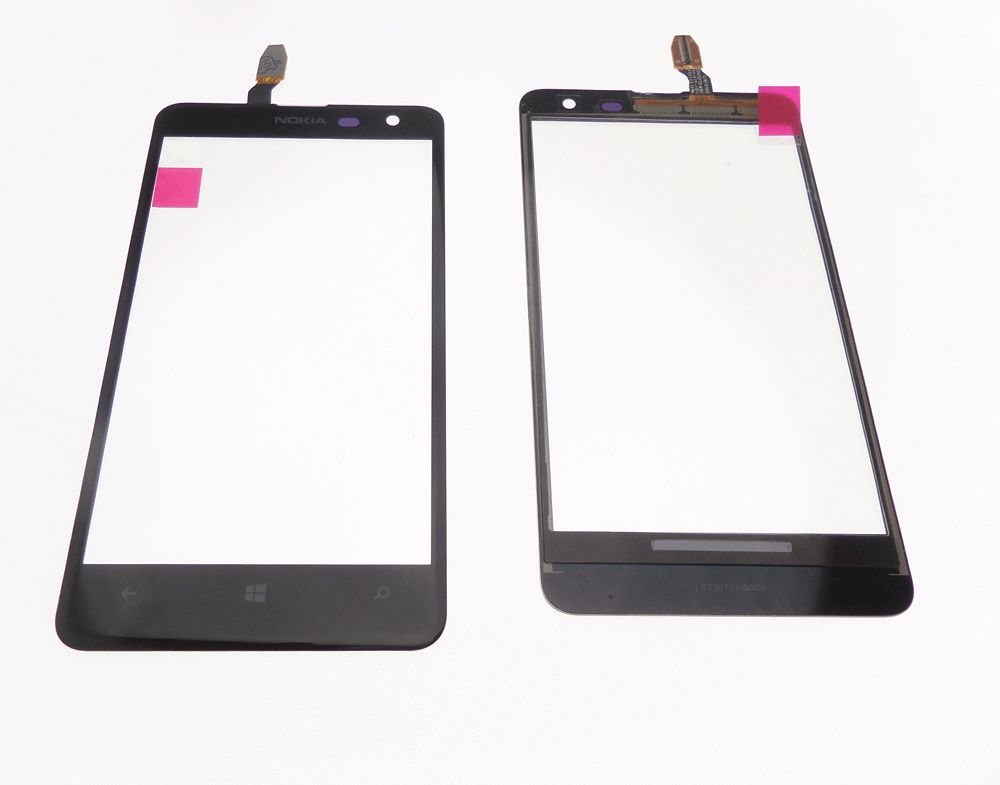
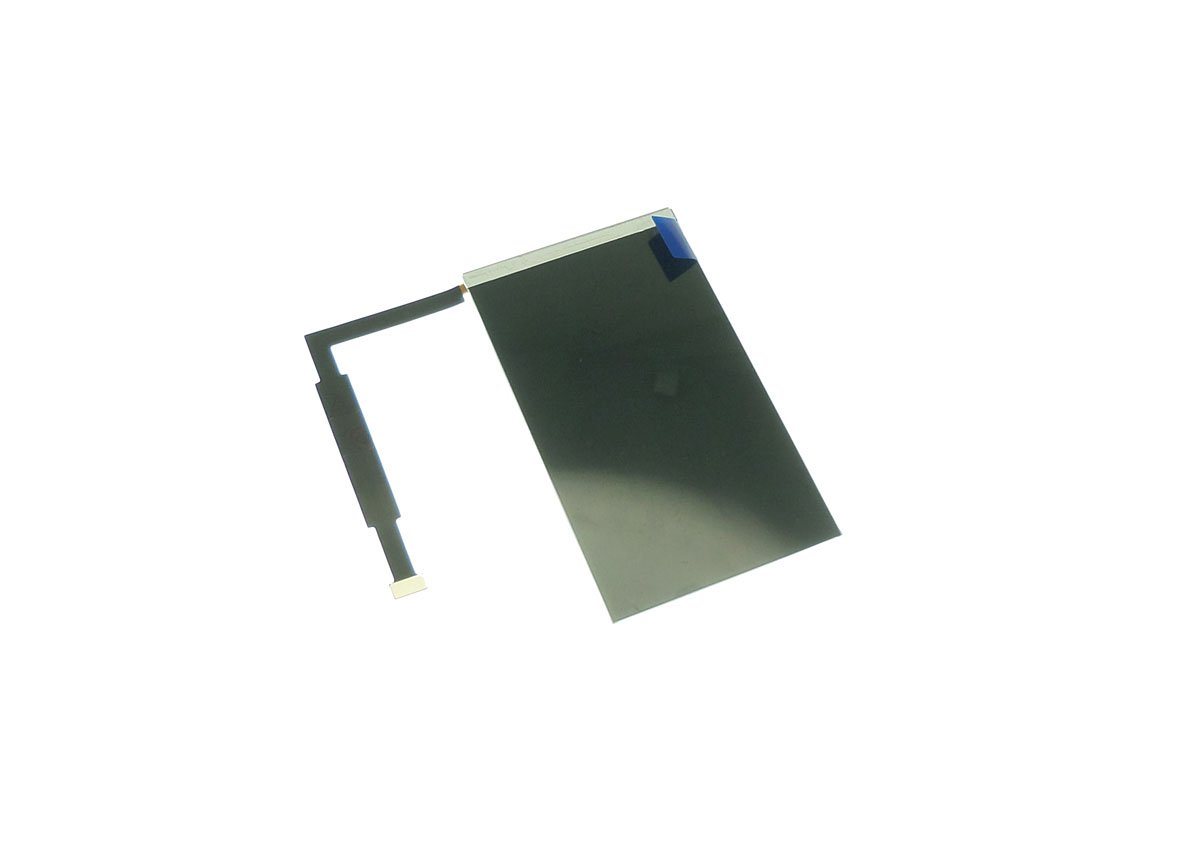
Remove the glass.
To do this, heat the glass first by making the outline. p>
Heat the glass will allow you to peel off the glass more easily. p>
Positioning the spatula as in the photo, slide the corner between the edge of the chassis and the window then do a complete turn, do not be afraid to force.
Next, e the window and the frame and make the outline with small movement on the axis as on the picture. Be very careful not to scratch the LCD with the spatula or damage it. If you have difficulty taking off the heater more.

Once the glass is peeled off, remove it by hand.
We will now prepare the chassis to receive its new window.
Have your patience followed by a spatula or a cutter. >
Place a plastic film on the LCD screen, which will avoid scratching it with your work tool or depositing fingerprints.
Then peel off the glue on the chassis at using your instrument. There must be no glue left before reassembling the new glass. Once all the glue is removed, remove the plastic film. Then, with alcohol at 90 degrees, clean the LCD.
Then reassemble the new glass. Do not forget to take the tablecloth into the notch of the chassis.
This is for the winding of the window.
Step 5: Reassemble the motherboard.
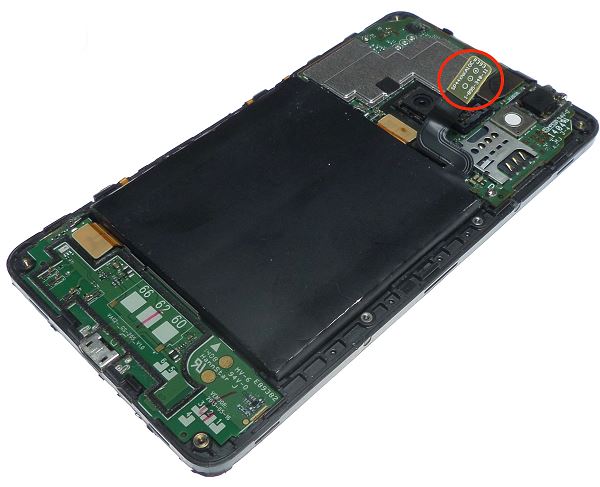
Locate the screws using the photo.
Then revisit them.
Replace the tablecloths on the photo by hand.

Reassemble the battery and reconnect its battery.
Replace the back cover manually.
Locate the 8 screws you will see again.

For my part, since my back shell was damaged enough,
Screwdriver TORX T7 mobile parts
-A plastic spatula
-A metal spatula parts-mobile
clamp
This tutorial is finished, It's up to you to play!

Delivery Date
Order before 14 h
for delivery between 20/04 and the 23/04/24
Approximate date using Suivi GRATUIT moreInfo gb
gb


COMMENTS
No customer comments for the moment.