No products
To be determined
Shipping
0,00 €
Total


Published on 2017-03-18
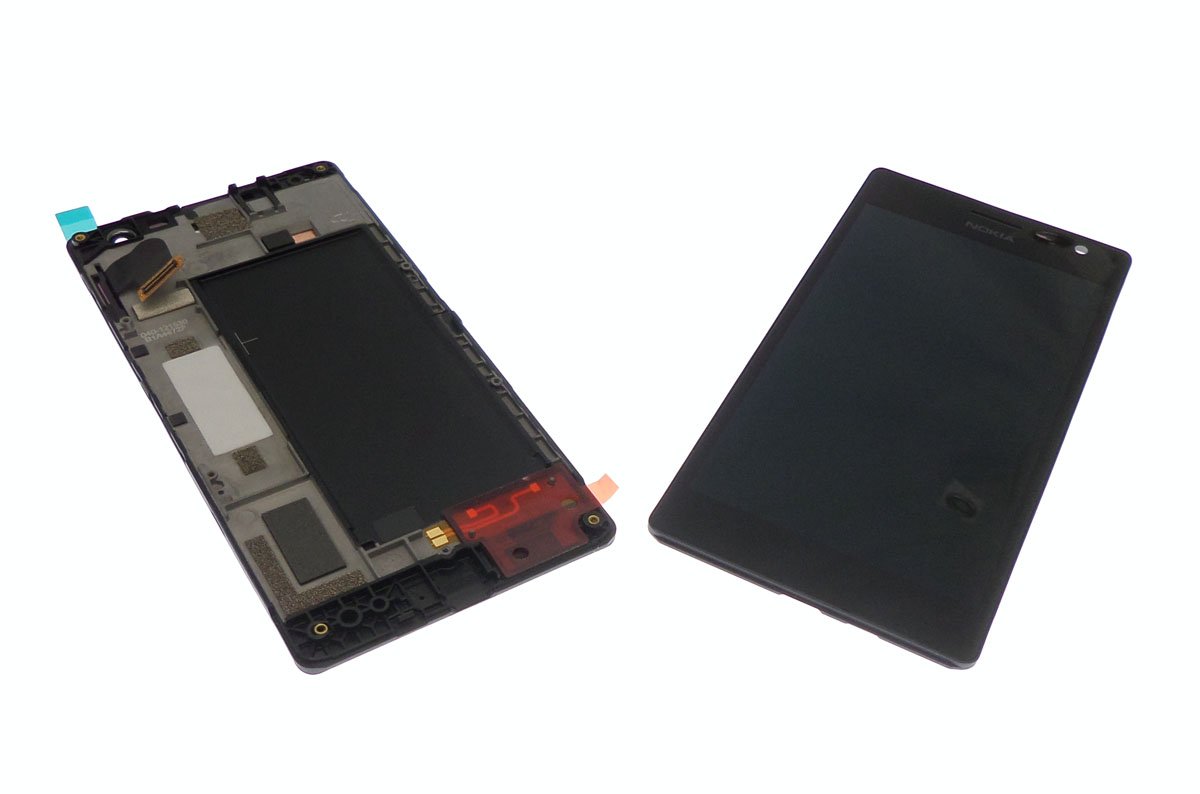
The Nokia Lumia 735 The Lumia 735, a 4.7-inch HD smartphone under Windows phone that has enough to attract a large clientele.
It also relies on the configuration many times crossed, since it has a SoC Snapdragon 400 processor followed by 1 GB of RAM. As for its internal memory, this one is limited to 8 GB. But it offers the possibility of an extension with a microSD card.
It is possible that you need to disassemble your Nokia Lumia 735 for some reason. This guide is for you, it will help you to better understand the disassembly.
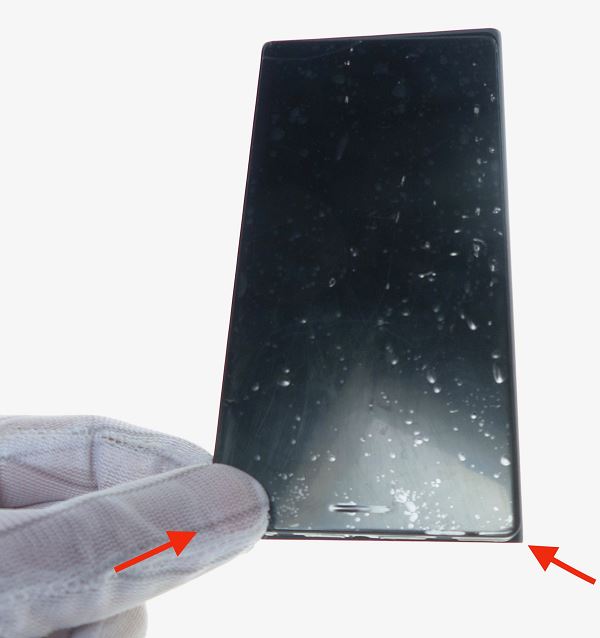
For the first step, simply remove the back cover of the rest of the phone. For this, it is necessary to delicately eclipse the corners of the Nokia Lumia 735. No matter which corner, by hand or using a spatula. Be careful not to over-force to avoid damaging the back shell because it is made of plastic and remains fragile when twisting.
Then remove the battery by hand.
Then remove the SIM card and the microSD card if present.
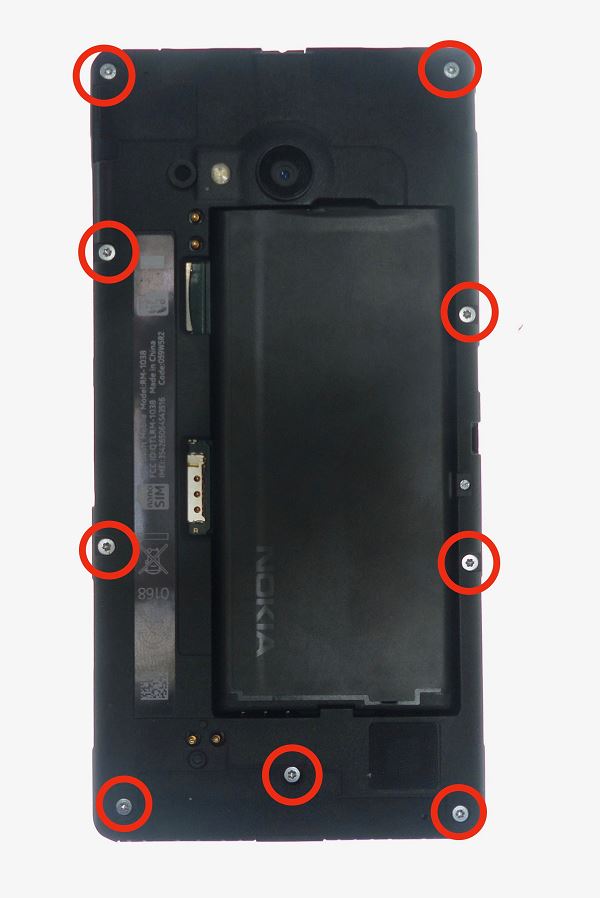
Using the TORXT5 screwdriver, use the 9 screws shown on the picture and then remove them.
no screws will be needed to reassemble the Nokia Lumia 735.

We will then remove the inner cover of the Nokia Lumia 735. For this we will help a spatula and make small movement on its axis delicately for do not damage the inner cover.

Go around the cache by continuing this movement on the axis to clip the clips always with delicacy.
Finally remove the inner cover. lift it gently.
Caution!
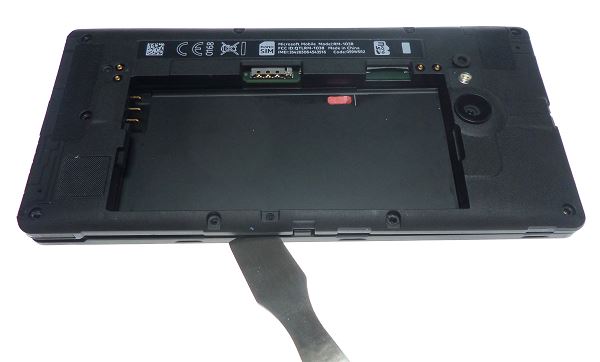
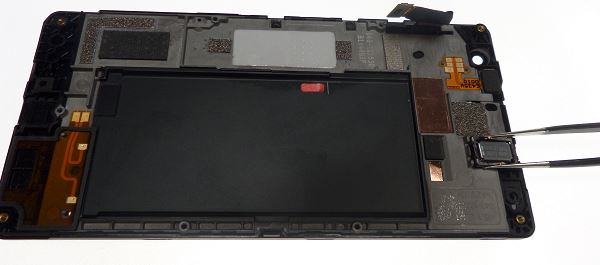
Do not lift the cover more than 90 degrees, a web is connected and may be pulled out when the cache is removed.
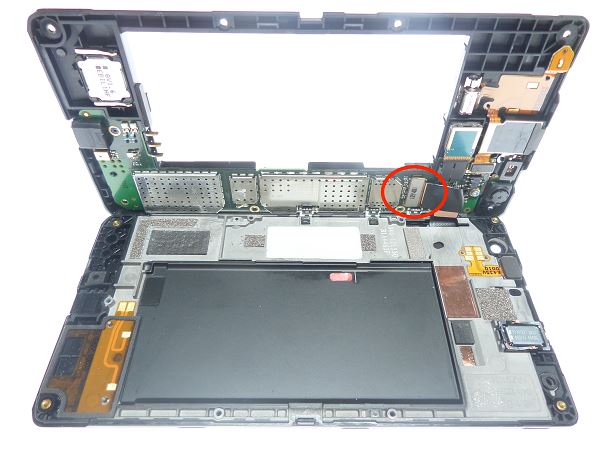
You must remove the sheet with a spatula by levering, as shown in the picture.
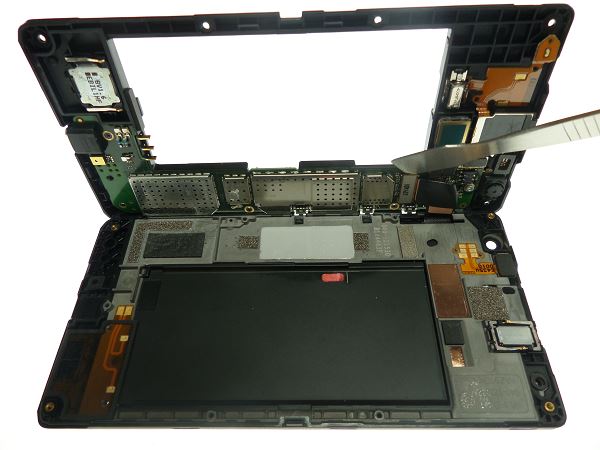
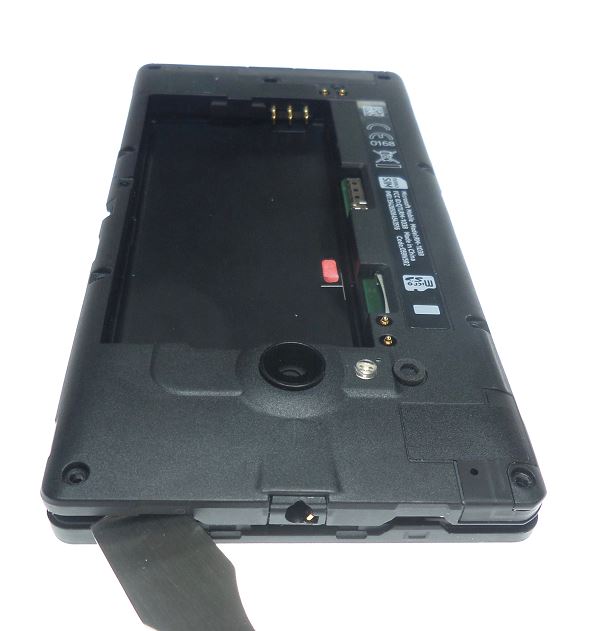
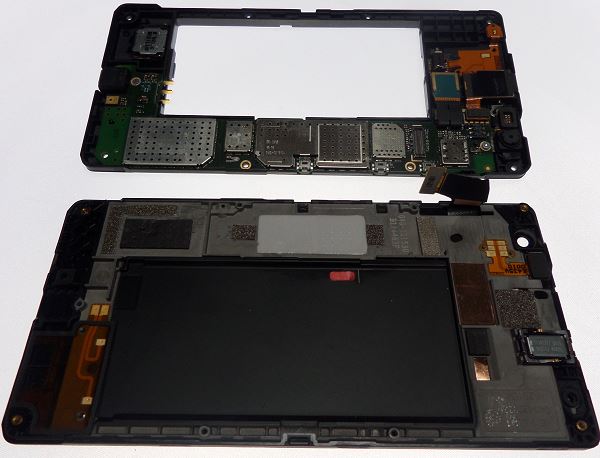
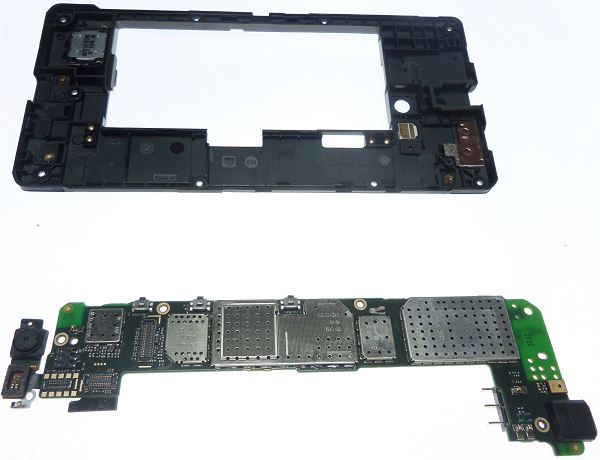
Now that the table is disconnected, you can separate the chassis from the inside cache. the internal cache contains a main component, the motherboard.
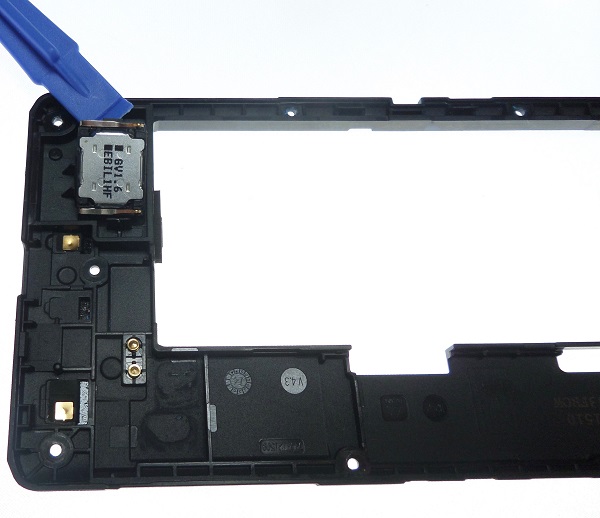
For this purpose, use the spatula to lift the loudspeaker out of the speaker with a plastic spatula.
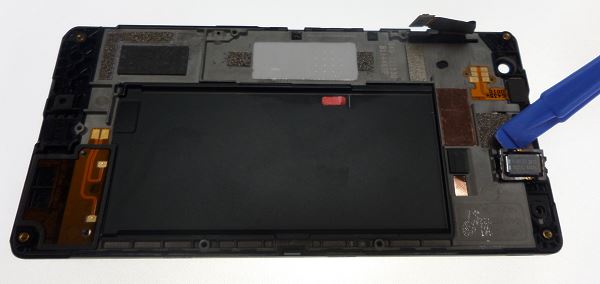
Then gently using the clamp remove the speaker conversation.
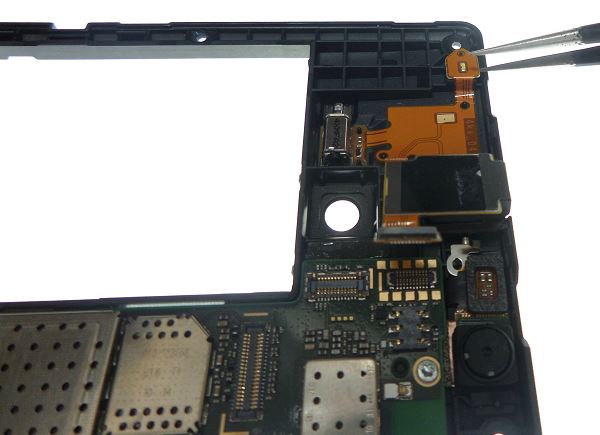
Once the tablecloth is completely peeling off, you can remove the LED, using the clamp and always with great care pull the lightly pulling upwards.
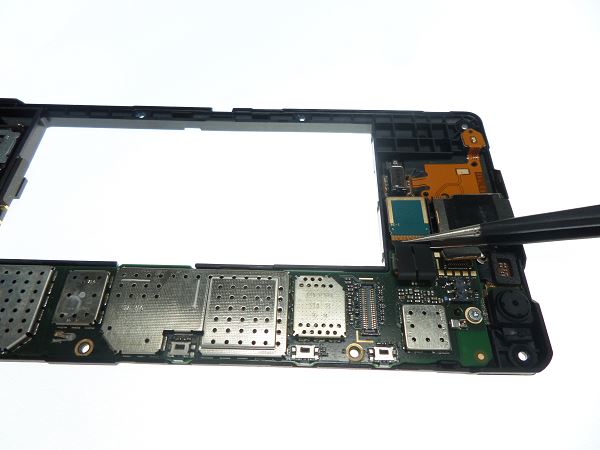
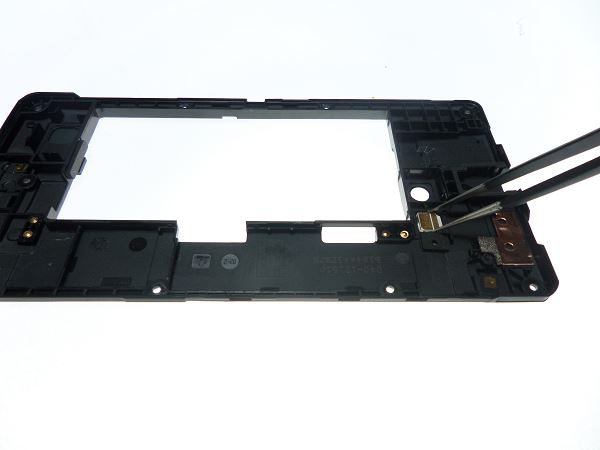
Now the task becomes a bit more complex. . To do this, simply peel off the cloth using the tongs using the tip. With care and delicacy because this component remains rather fragile, peel off the tablecloth by sliding the tip of the clamp between the tablecloth and the chassis. Make small movements from right to left or vice versa.
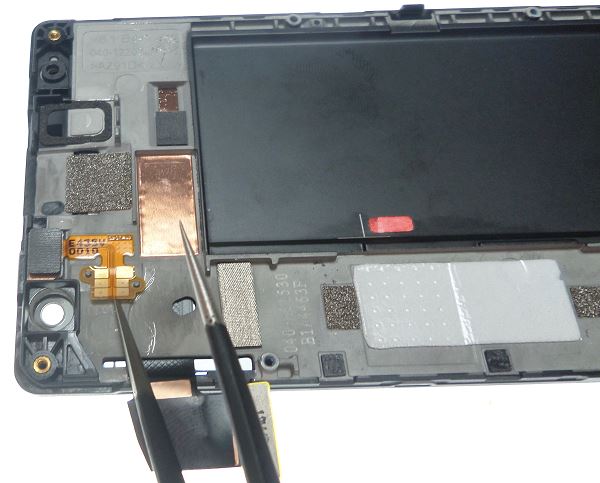
Do not force it, this component remains fragile.
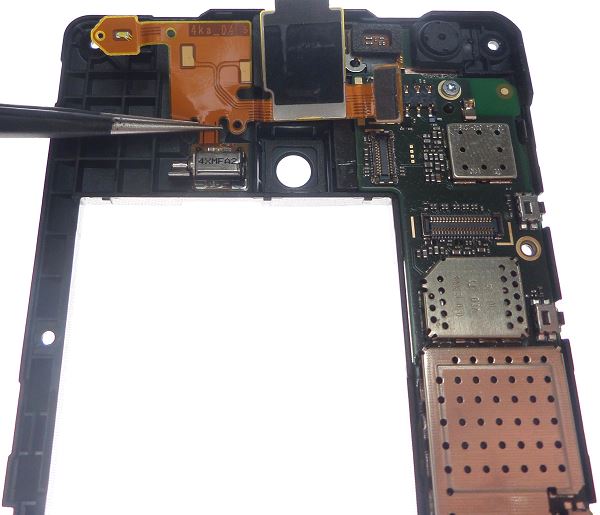
Disconnect the ribbon from the jack and vibrator using the lever spatula.
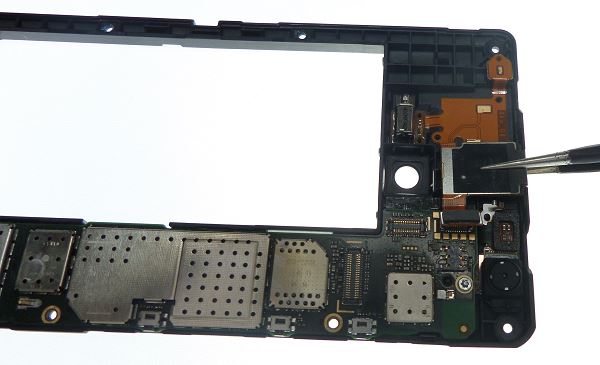
Disconnect the camera from the camera using the spatula in the same way as the previous one.
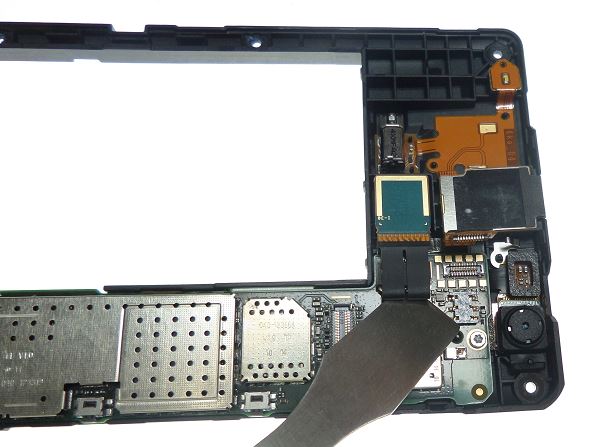
Remove the camera with the clip by pulling it upwards, it will be removed with ease.
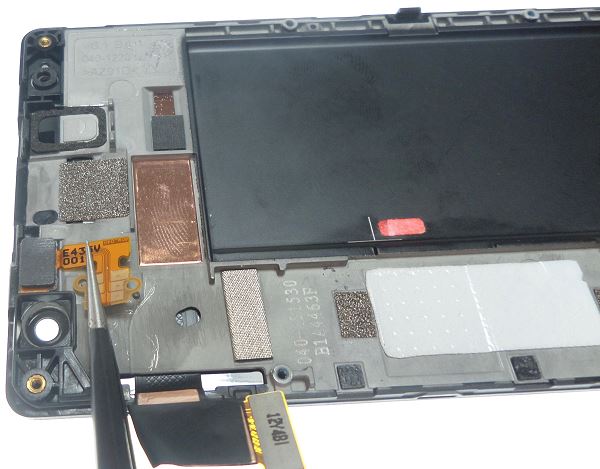
With the clamp, peel off the jack plug as pictured, then pull up while being careful not to pull too much because the jack is coupled with the vibrator and thus connected together by a tablecloth .
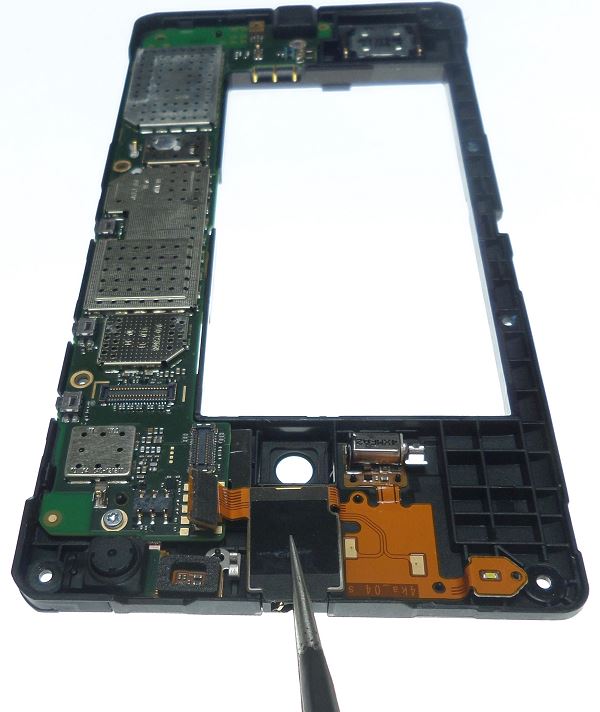
We will peel off the tablecloth with the tip of the clamp just like the case of the previous tablecloth. Always with the same movement and with caution.
If you have difficulty taking off the tablecloth, warm it up. This will make it easier for you.
To do this gently pull up. If you encounter a problem, warm up the component.
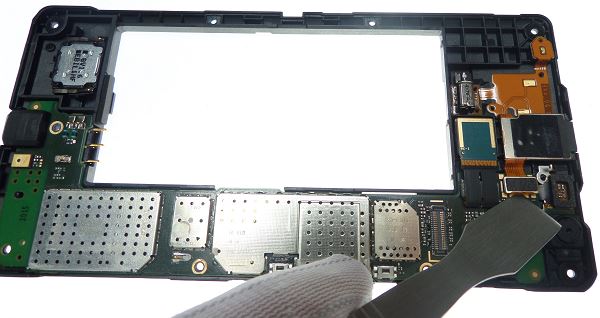
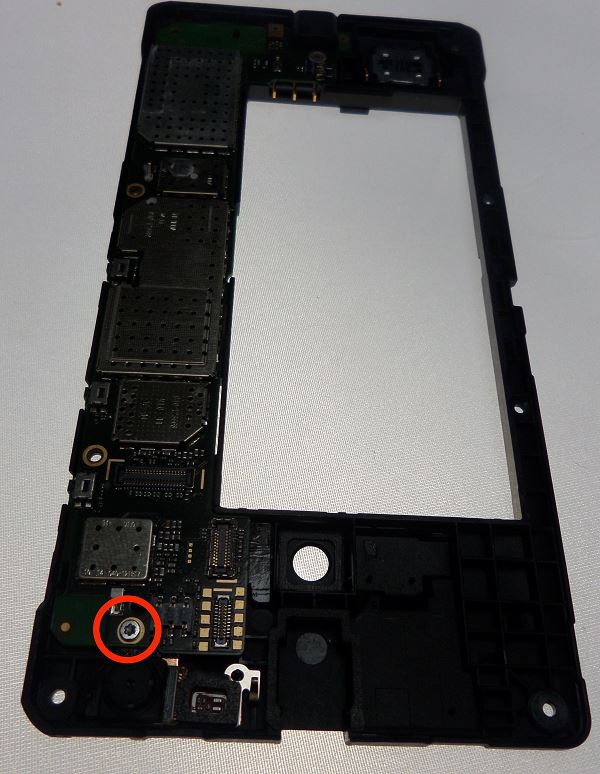
Locate the screw in the photo and then split it with a TORXT5 screwdriver.
Then using the plastic spatula to leverage: Finally you can remove the motherboard.
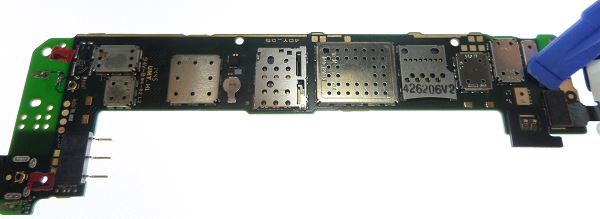
Remove the front camera. using the plastic spatula remove the tablecloth, the front camera will detach from the motherboard.
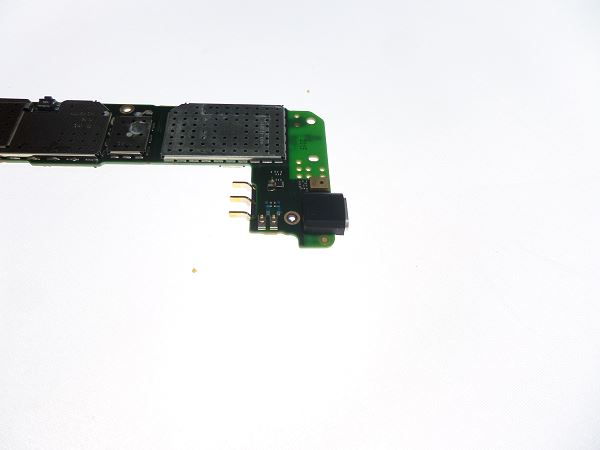
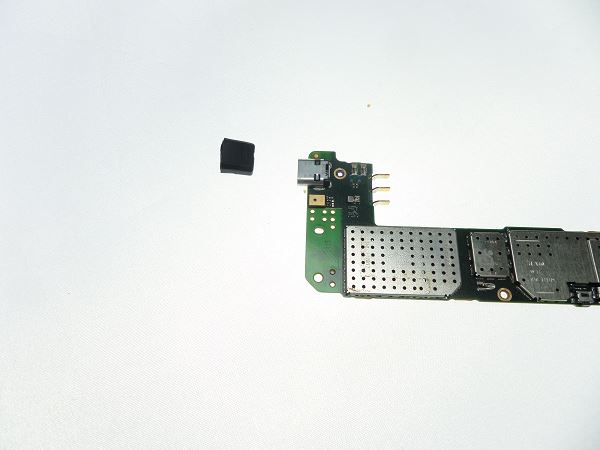
Remove the plastic cover from the socket micro USB.
Simply remove it by hand from below. Be careful not to break it, this piece is soft but can be easily broken.

Remove with the plastic spatula the loudspeaker.
Put of the flash thanks to the clip.
Do not hesitate to press the flash on the back of the cache if you can not catch it.
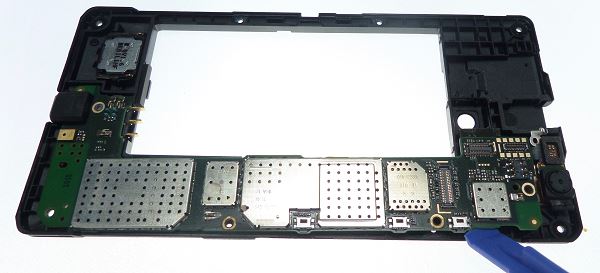
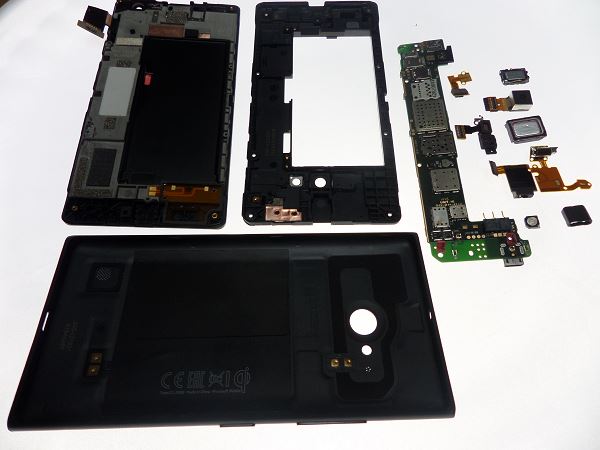
Here's an overview of your parts after dismounting.

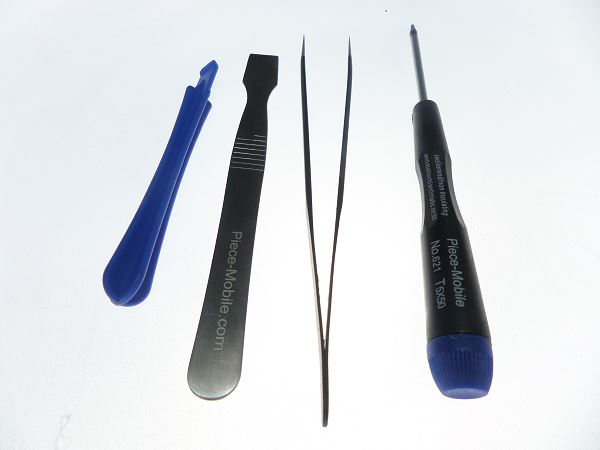
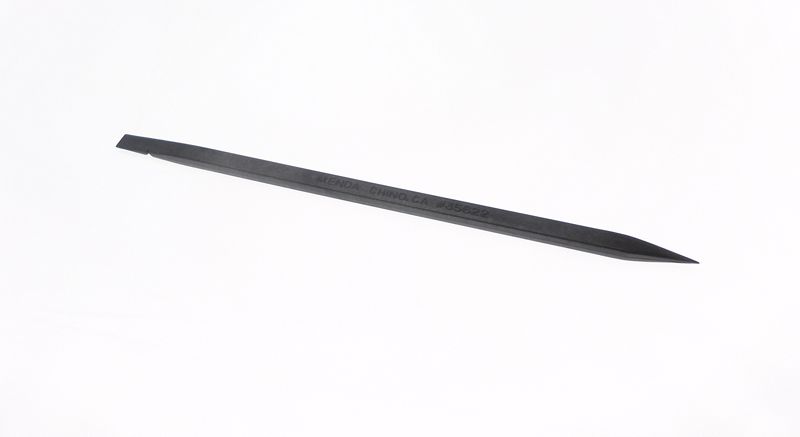
-A plastic spatula
-A piece-mobile metal spatula
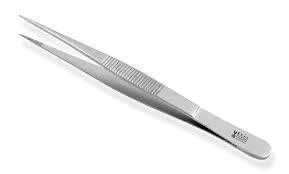
-A pliers
-A One screwdriver TORXT5 mobile part
 the tutorial is finished, for reassembly just follow the tutorial in reverse.
Delivery Date
Order before 14 h
for delivery between 03/05 and the 06/05/24
Approximate date using Suivi GRATUIT moreInfo gb
gb


COMMENTS
No customer comments for the moment.