No products
To be determined
Shipping
0,00 €
Total


Published on 2017-03-24
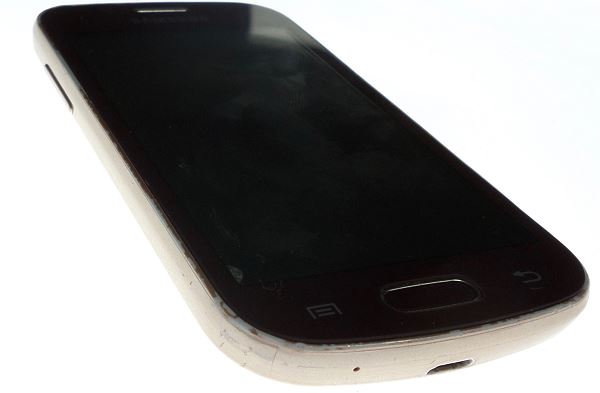
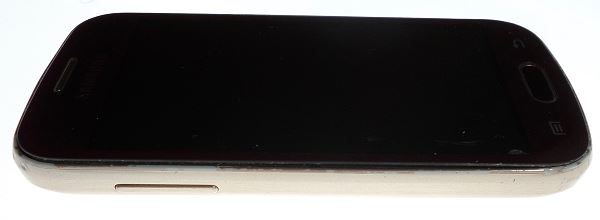
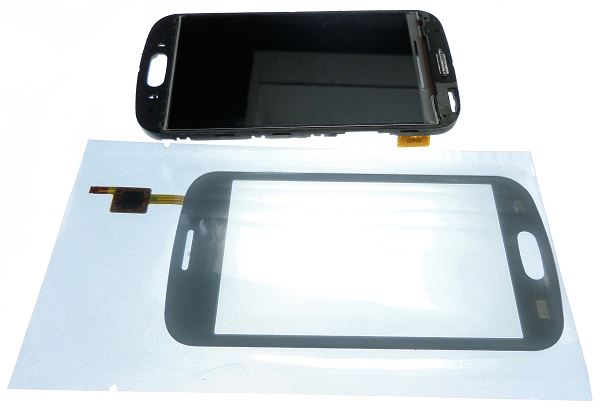
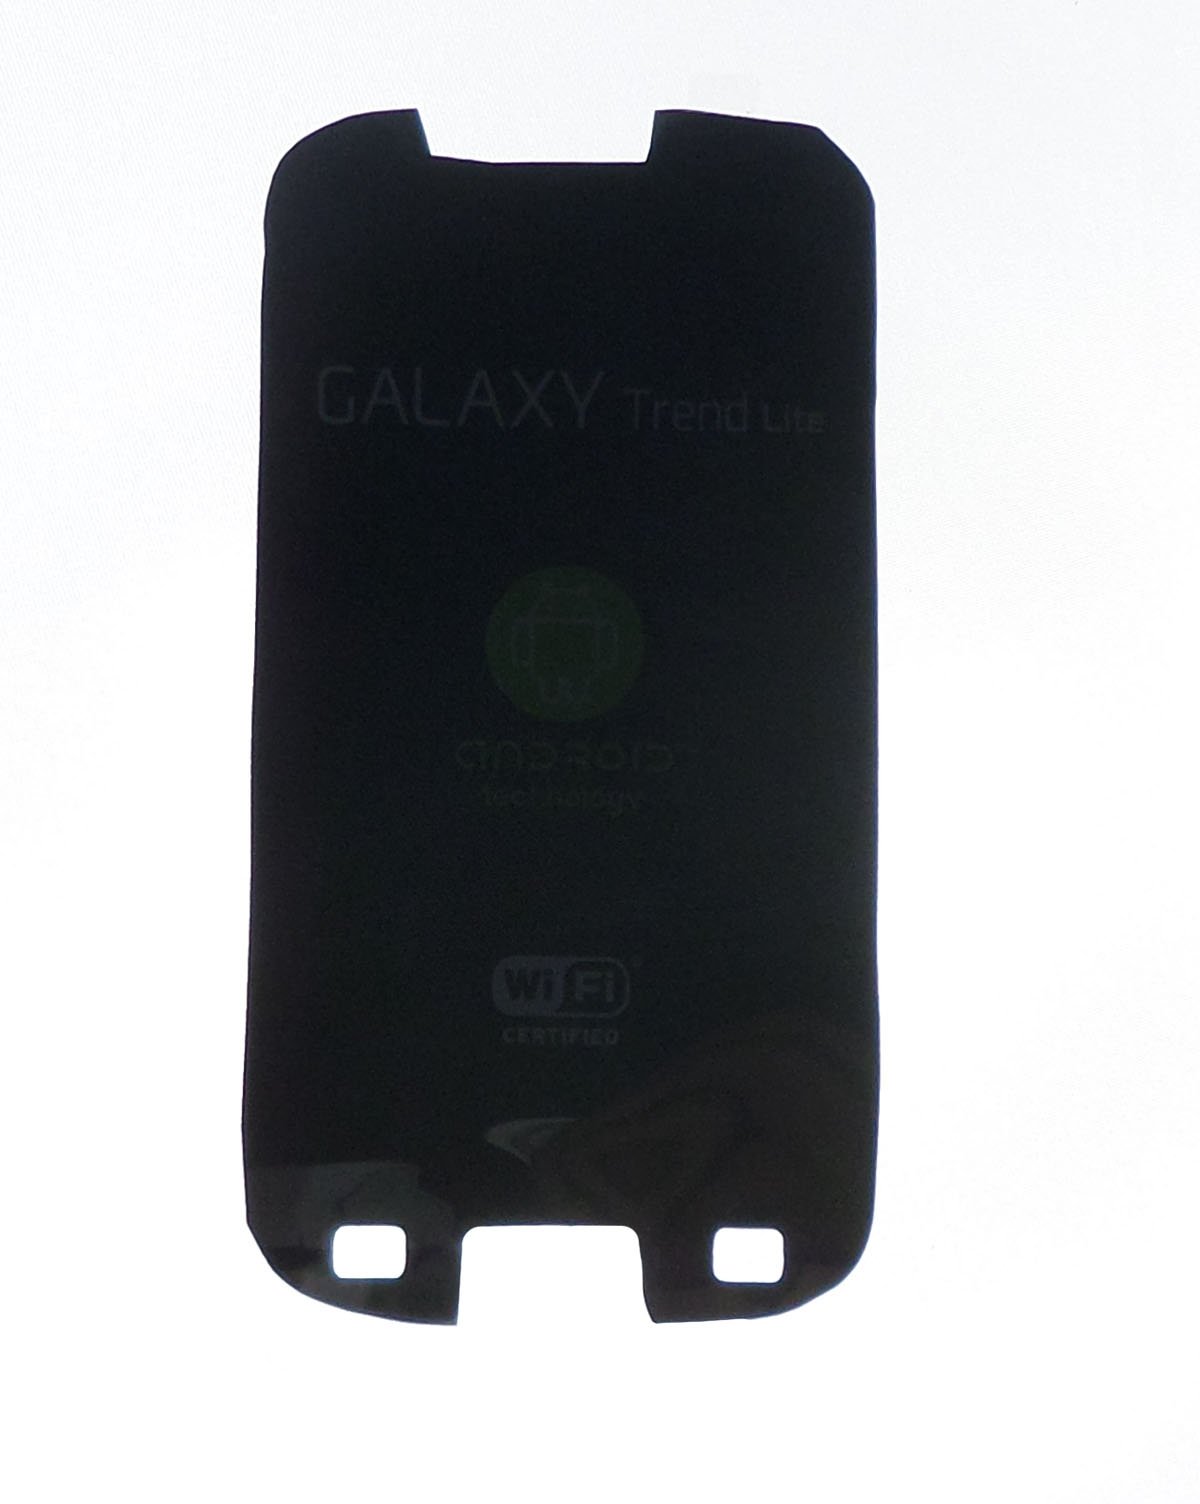
The Samsung Galaxy Trend Lite features a 4-inch screen, slightly revised version of the Galaxy Trend.
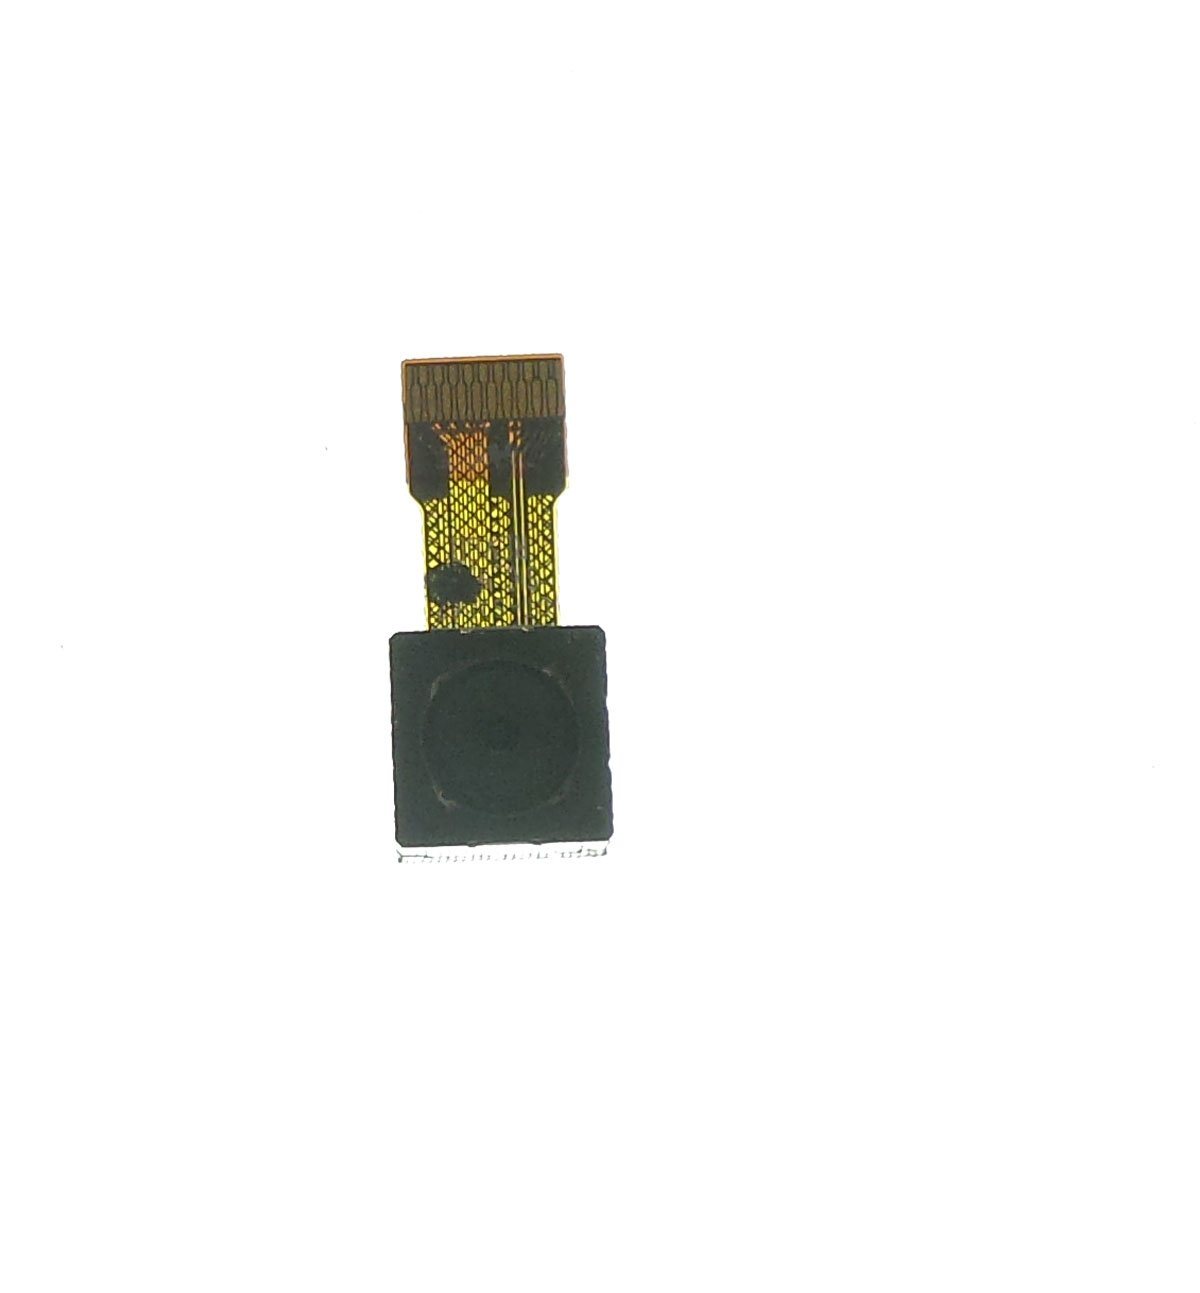
On the multimedia side, the Trend Lite has a 3 megapixel camera without flash, compared to the Trend that has a flash and 5 megapixels. It remains a robust entry-level smartphone. The Samsung Galaxy Trend Lite offers 4GB of internal memory with the ability to add a MicroSD.
So I created this Repair Guide for you, it will help you understand the disassembling and reassembling the Samsung Galaxy Trend lite aka S7390 or S7390G.
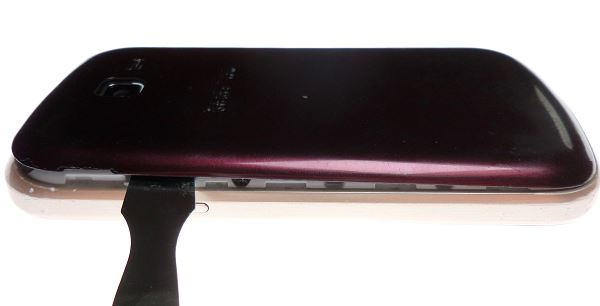
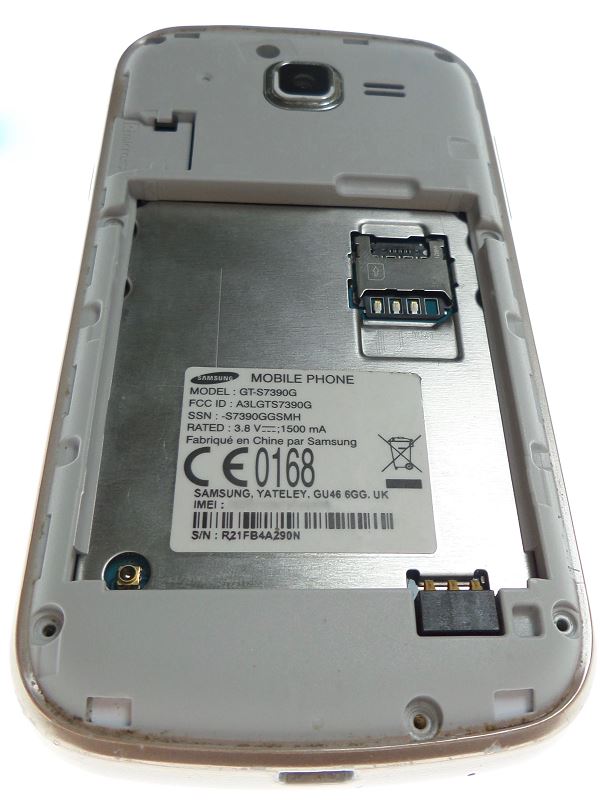
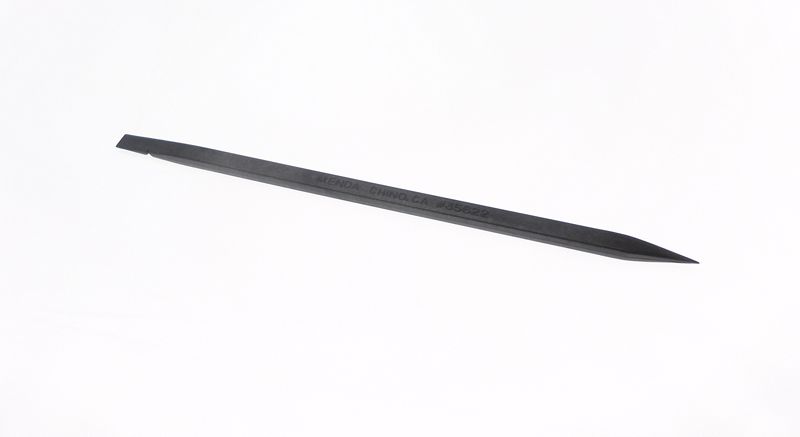
First remove the cover by hand or with a spatula, do not scratch the outline of the Samsung Galaxy Trend Lite.
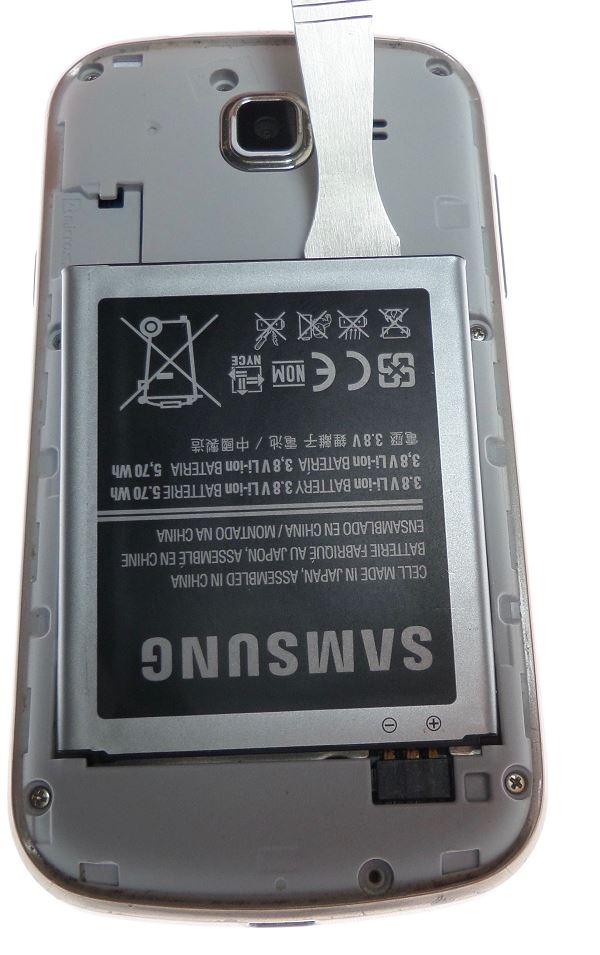
Then remove the battery with a spatula or by hand.
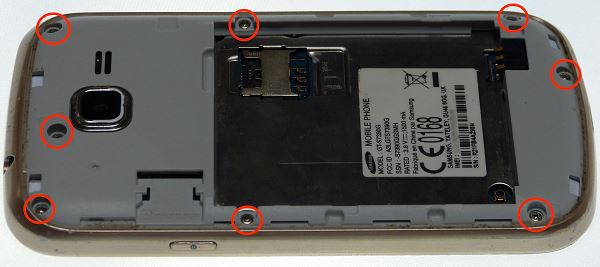
Then remove the SIM card and the mic card roSD if present.
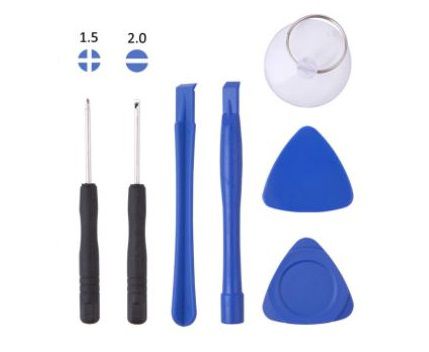
Remove the 8 screws with a PH0 screwdriver and remove the 8 screws. or PH00. (Both screwdrivers are compatible for this model)
Press the screws firmly to avoid damaging the screw heads.
We now come to a small difficulty.
You can also take a look at the pictures on the screen. >

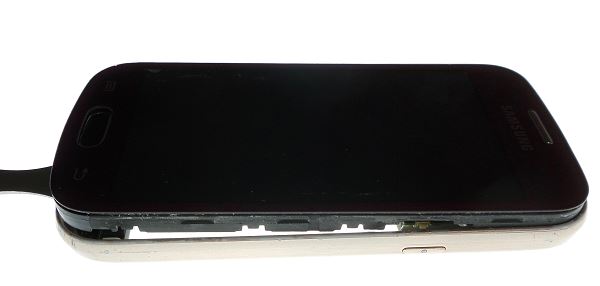
by making small lever movements all along the handling.
Do not be afraid to force, this will allow to pull out the chassis followed by the rest of the Samsung Galaxy Trend Lite.
But be careful to remain vigilant during this manipulation.

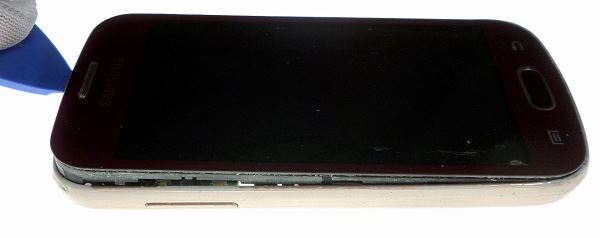
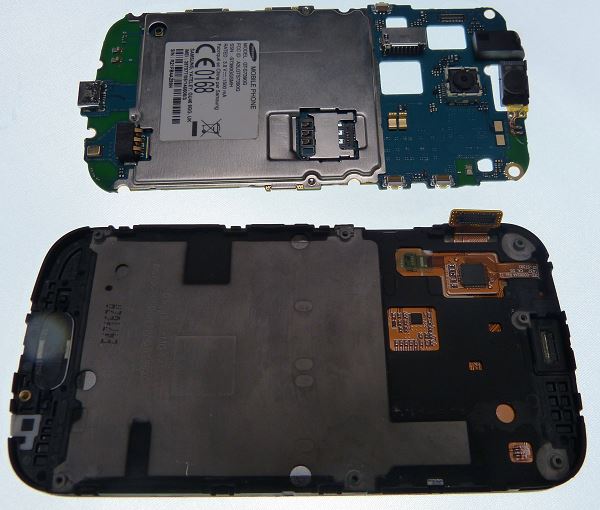
As you can see on the picture, once the outline makes the back shell begins to detach from the rest of the Samsung Galaxy Trend Lite.
To remove the shell completely several times the contour creates an opening to pass a spatula.
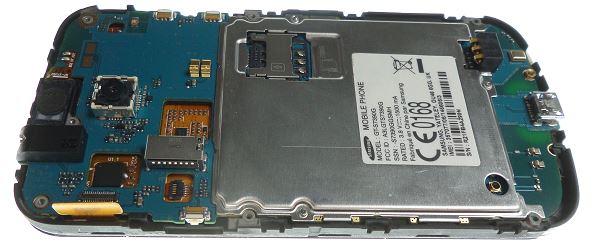
Warning: The motherboard is only connected to the chassis with a tablecloth.
you remove the back cover to keep the motherboard sticking to the chassis to avoid damaging the web.
Step 4:
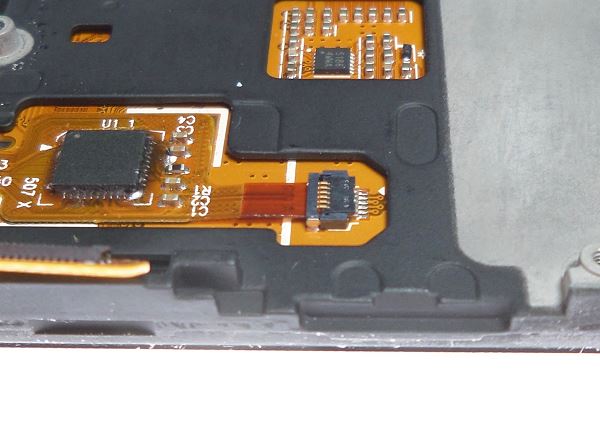
Remove the tablecloth with a spatula.
Be careful not to scratch the motherboard with the spatula because the motherboard is the main component and the most expensive of the Samsung Galaxy Trend Lite.
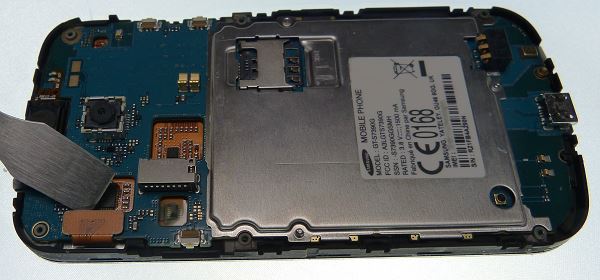
You can now gently remove the motherboard with a spatula.
Handle the motherboard with care.

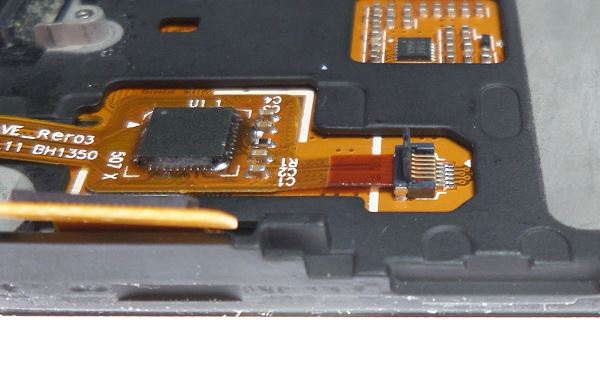
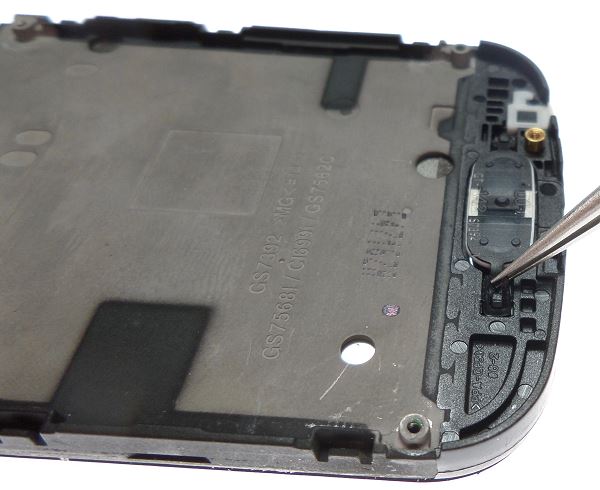
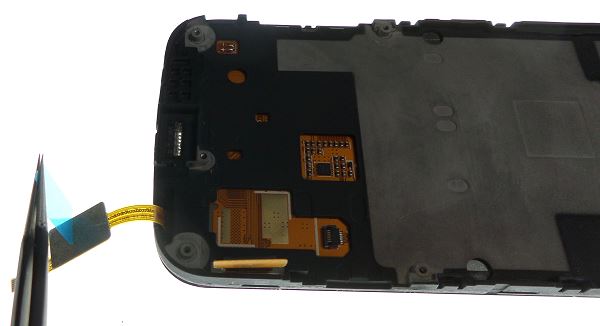
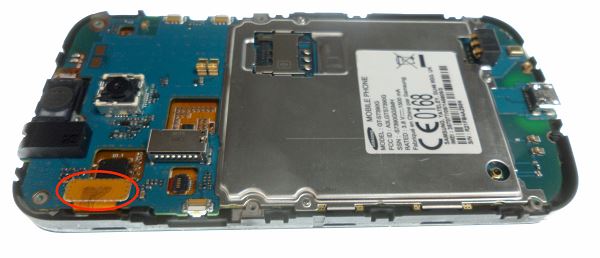
Remove the table cloth from the display.
To do this, take the help of a spatula lift the safety lever carefully as this safety lever is very fragile.

The operation of the safety lever is very easy but this safety lever remains an extremely fragile part, so you must manipulate the opening and the closure with the most care possible.
Here is the safety lever closed.
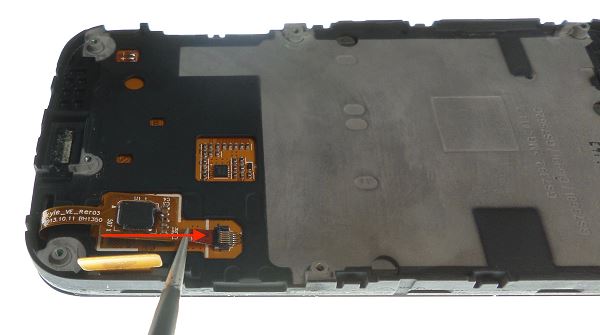
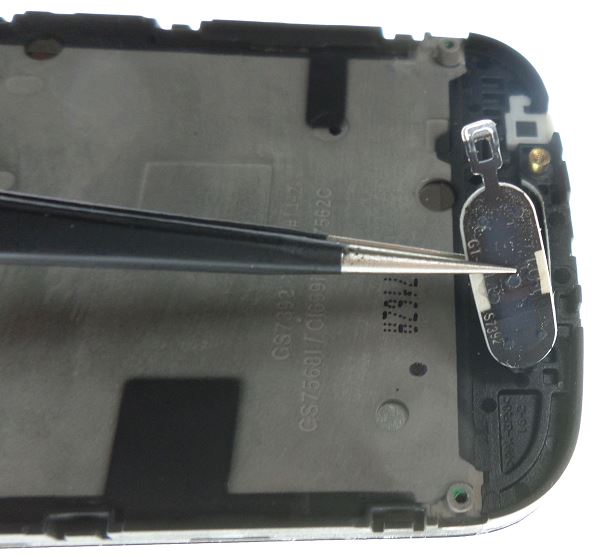
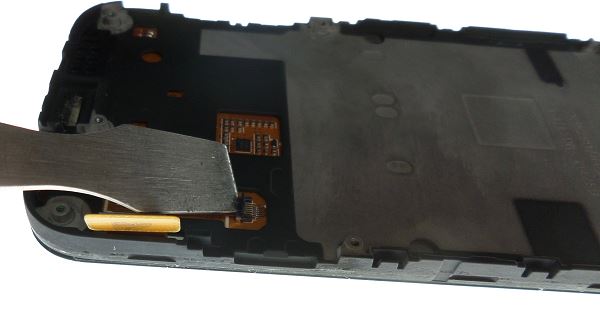
Then open the safety lever.
Remove the tablecloth with a pair of pliers by pulling gently to the left side as shown in the picture.
Step 6:
Remove the HOME button.
For this, using a pliers remove one of the two plastic ends always with caution because it is a part that can easily break even if it is elastic enough.
Remove the HOME button with a clip.
Step 7:
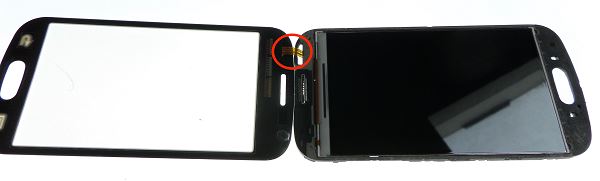
We now come to the second difficulty.
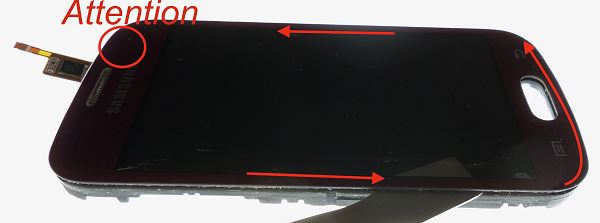
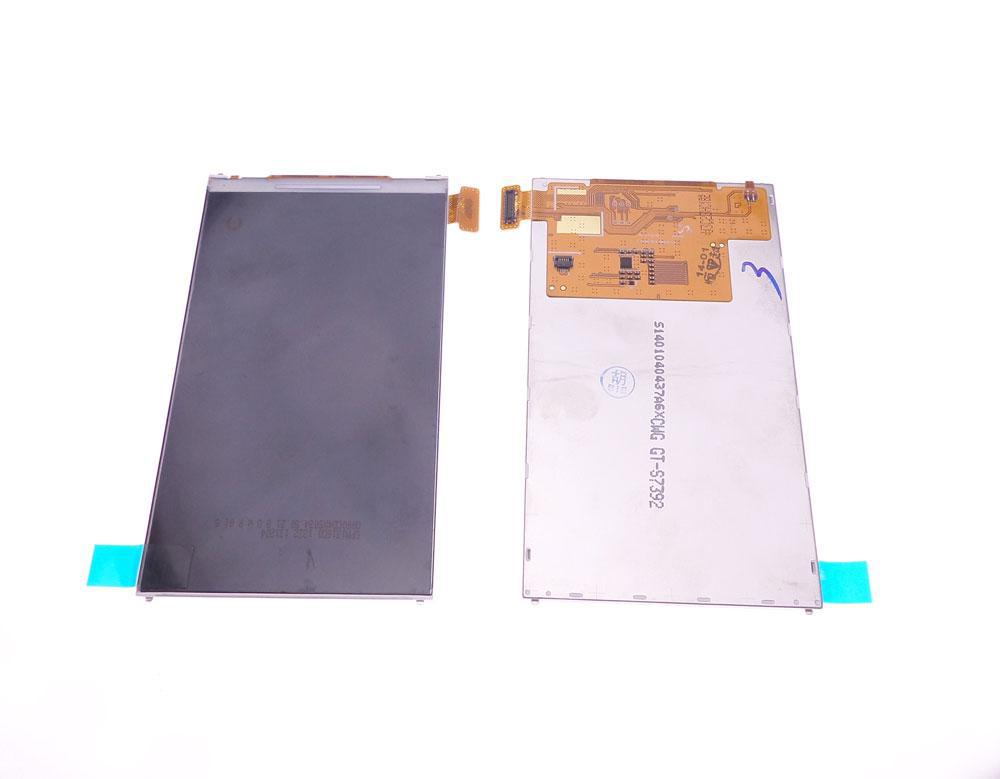
We will remove the window from the chassis.
Use a spatula and slide it between the glass and the chassis as shown in the picture.
Try not to push the spatula too much because the LCD screen can easily scratch.

Once the spatula slides between the glass and the chassis made the turn with a movement on the axis to detach the window of the chassis.
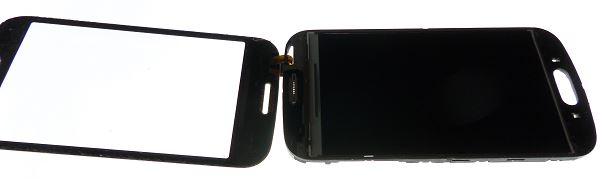
Even if our glass has to be changed, pay attention to the sheet of glass.
On the picture is the location of the tablecloth.
Once the glass glue you can remove it. Do not touch the LCD screen with your fingers because it is very easy to mark and the mark of your finger will be visible when the screen will be dyed. Standby. If by accident this happens to you carry alcohol ?? 90 degrees and a small cloth to clean the LCD screen.
Step 8:
Take your new glass and install it.
Put the tablecloth in the notch, then peel off the adhesive from the window.
Finally glue the glass to the chassis. Do not forget to pass the tablecloth in its gap.
Then remove the sticker from the tablecloth and then stick the tablecloth to its location.
Then using a pliers put back the tablecloth.
Remember to check that the tablecloth is correctly connected.
Then close the safety lever with the spatula.
Step 9:
Replace the HOME button with the clamp.
Steps 10:
Reinstall the motherboard carefully.
Rebranchez la nappe à la carte mère avec délicatesse, à la main ou à l’aide d’une spatule.
 "
"
Step 11:
Replace the 8 screws with a PH0 or PH00 screwdriver.
Then reinstall the battery and the back cover of the Samsung Galaxy Trend Lite
This tutorial is now complete.

Delivery Date
Order before 14 h
for delivery between 03/05 and the 06/05/24
Approximate date using Suivi GRATUIT moreInfo gb
gb


COMMENTS
No customer comments for the moment.