No products
To be determined
Shipping
0,00 €
Total


Published on 2017-04-04
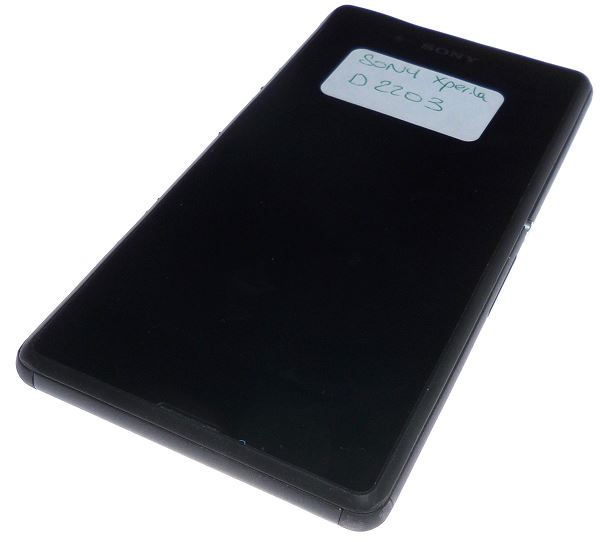
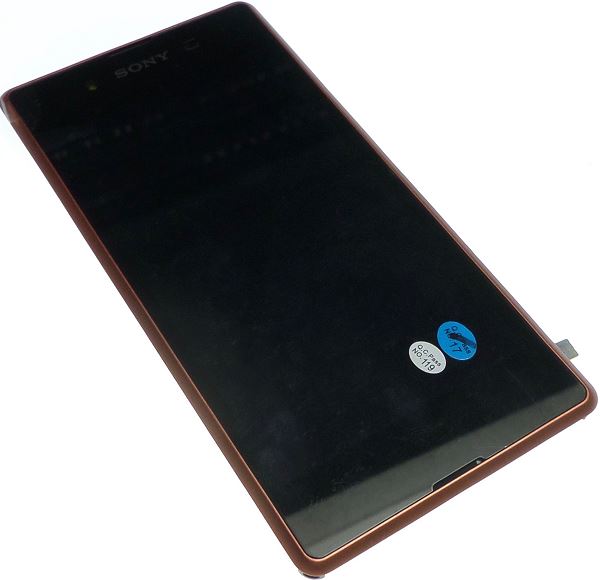
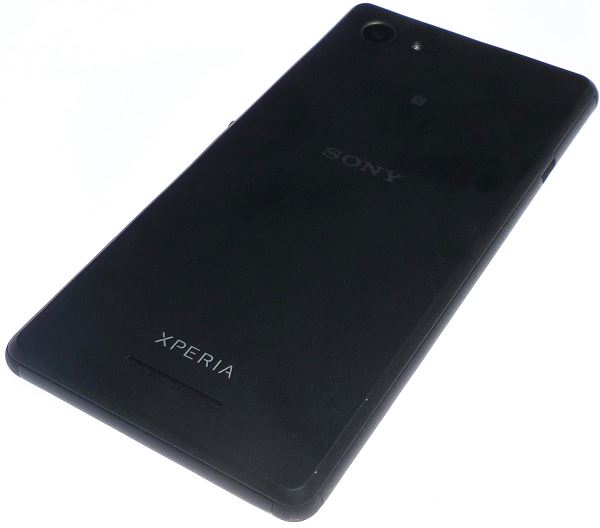
The Sony Xperia E3 is an entry-level smartphone from the Japanese brand SONY, it is placed under the Xperia M2 in its range. A smartphone 4G with a seductive design that is well equipped for a moderate cost. A 1.2 GHz snapdragon 400 as a processor followed by a 4.7-inch screen. Possibility to install a microSD for an addition of memory, because 4GB of internal memory is never enough! It also has 1GB of RAM and a 5-megapixel camera. Followed by a non removable battery of 2330 mAh.
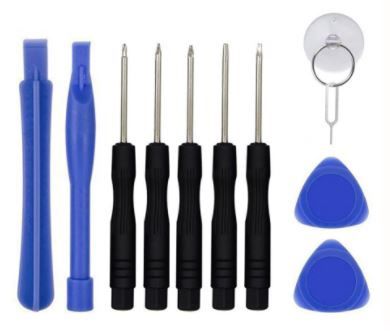
But we all know, we are never safe from a breakage. I created this tutorial especially for you. Read the entire tutorial before dismantling your Sony Xperia E3.

Step 1: Remove the back shell
Using a spatula remove the back cover by sliding the spatula between the cache and the rest of the smartphone and then leverage to de-clip the cache.
Remove the back cover
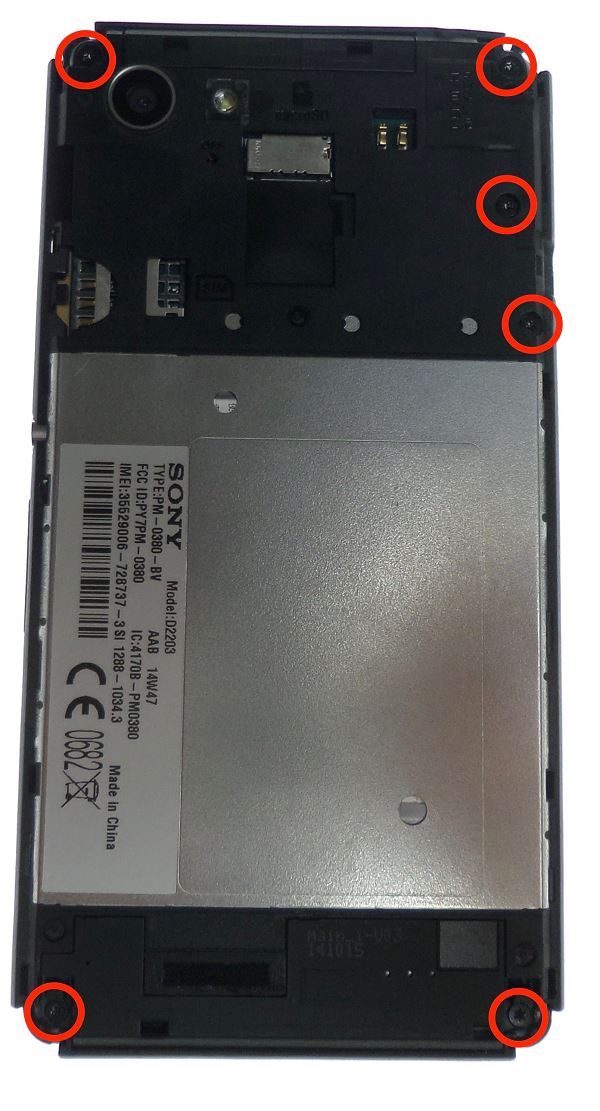
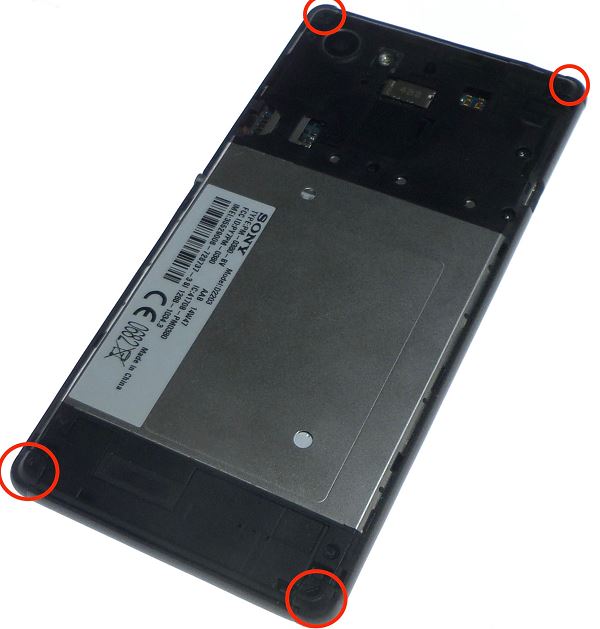
located in the corners, each corner hides a screw. That's why you have to remove them.
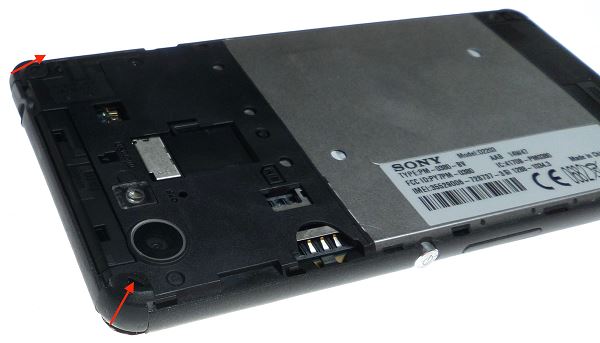
Once you have removed the four plastic covers, locate the six screws with the picture.
Then unscrew them using a TORX T5 screwdriver. Press downwardly to avoid damaging the screw heads.
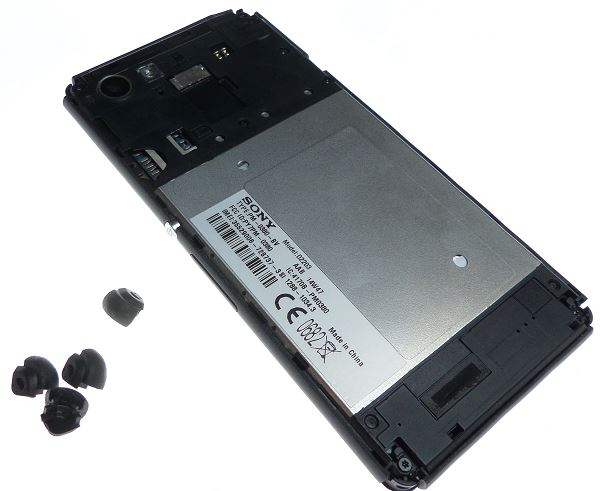
To do this slide the spatula between the chassis and the back shell and make small movements on the axis of the spatula to blow up the clips.


If you feel that you are in the wrong position, resistance when extracting the cache do not force, check only if all clips are unclipped.

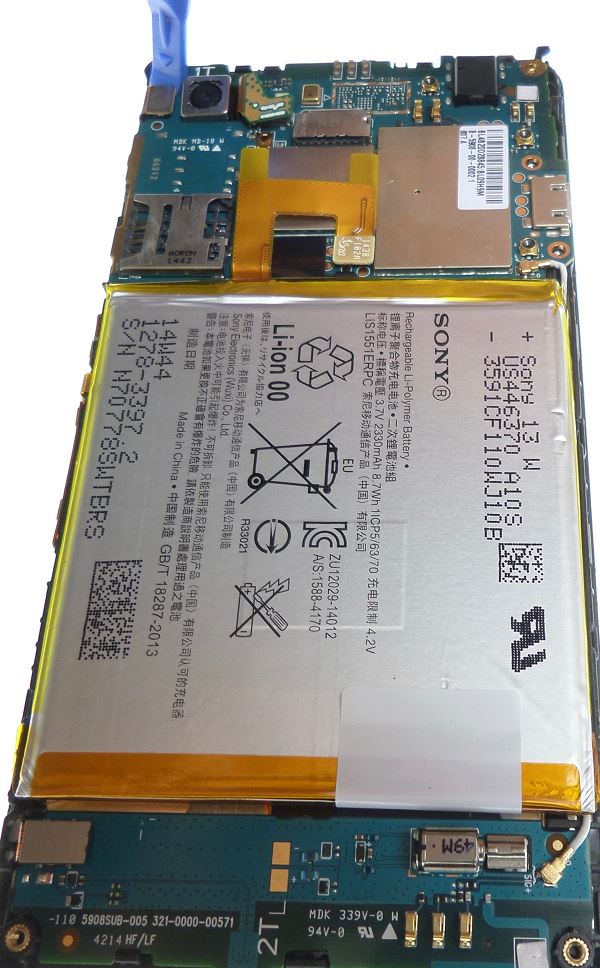
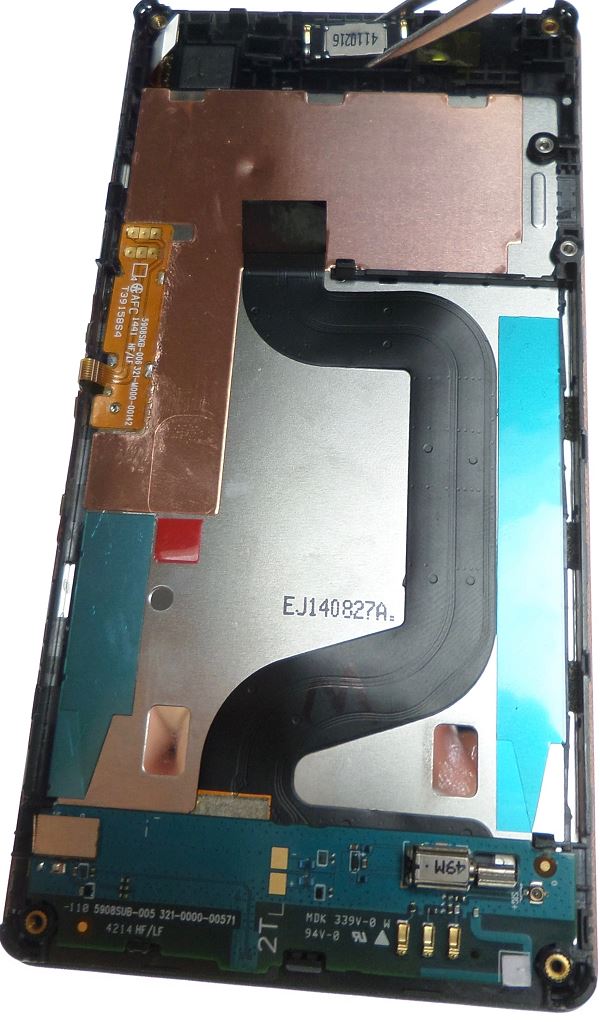
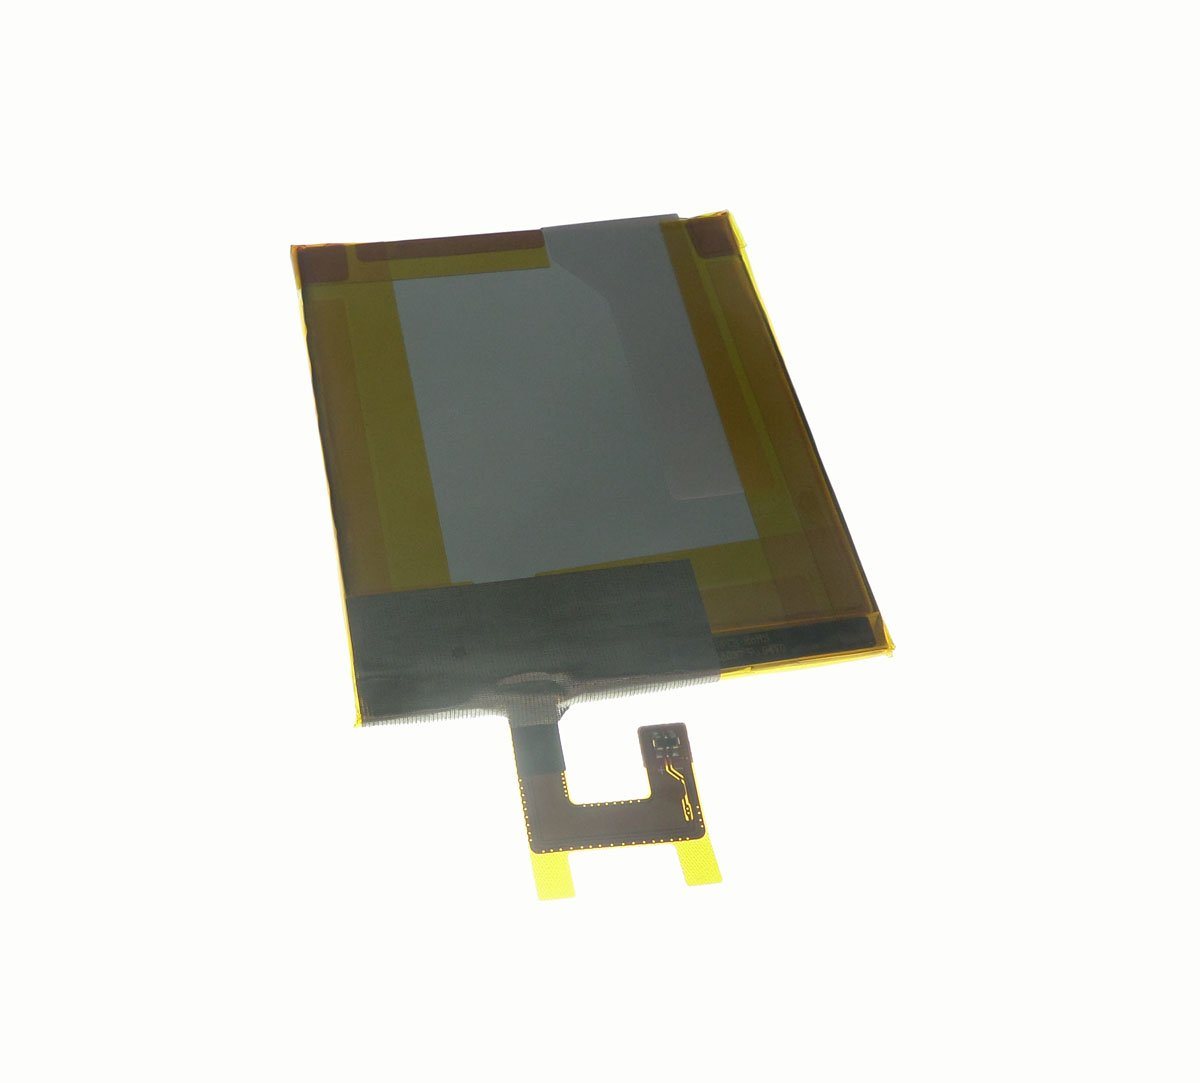
Find the 4 layers using the photo.
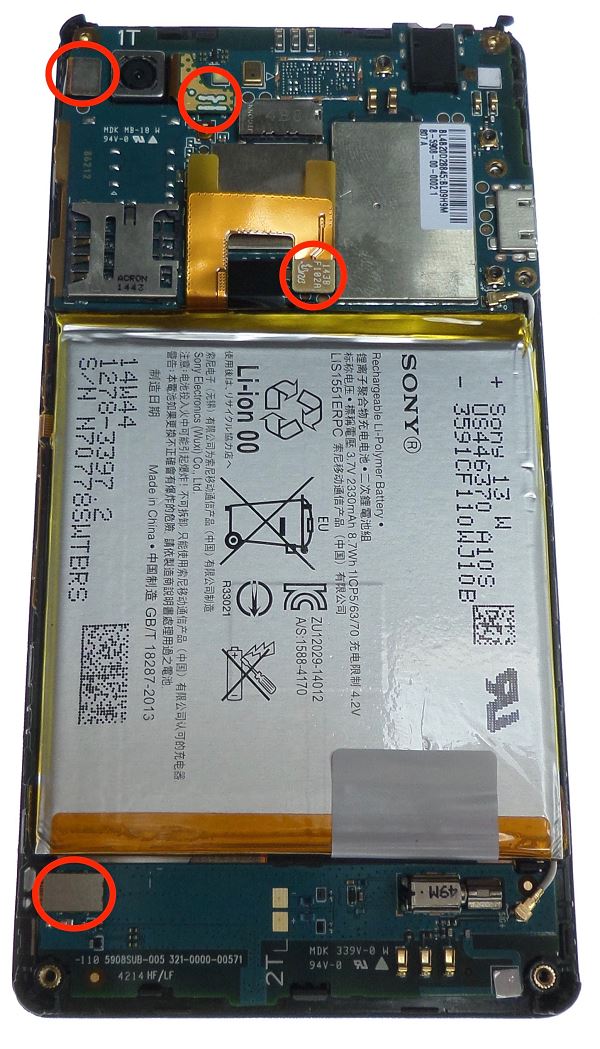
Unclip the first connector using a plastic spatula with a small lever movement as in the picture.
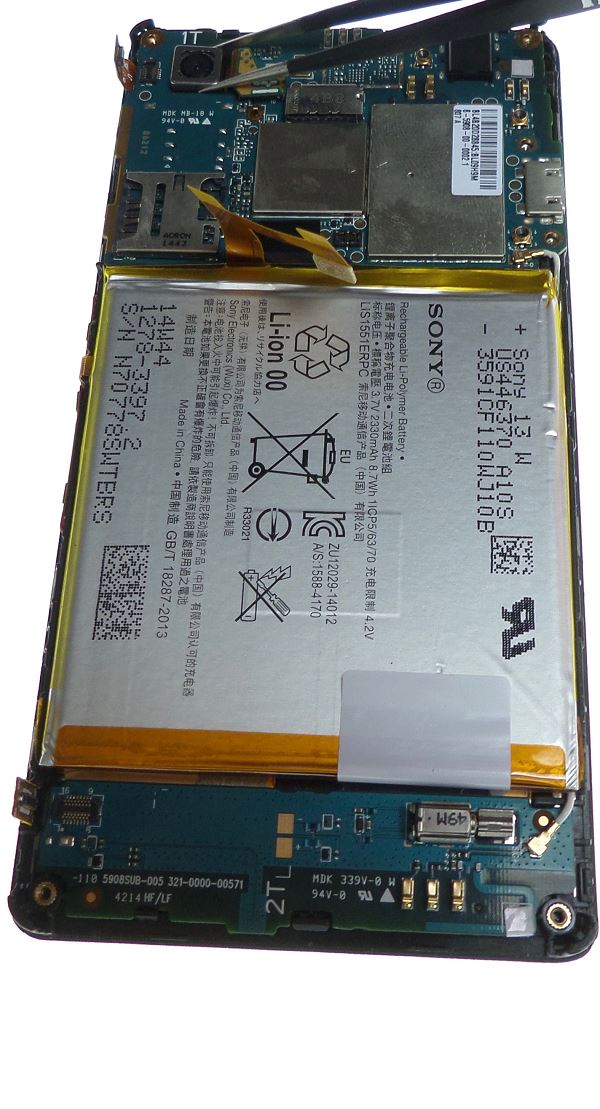
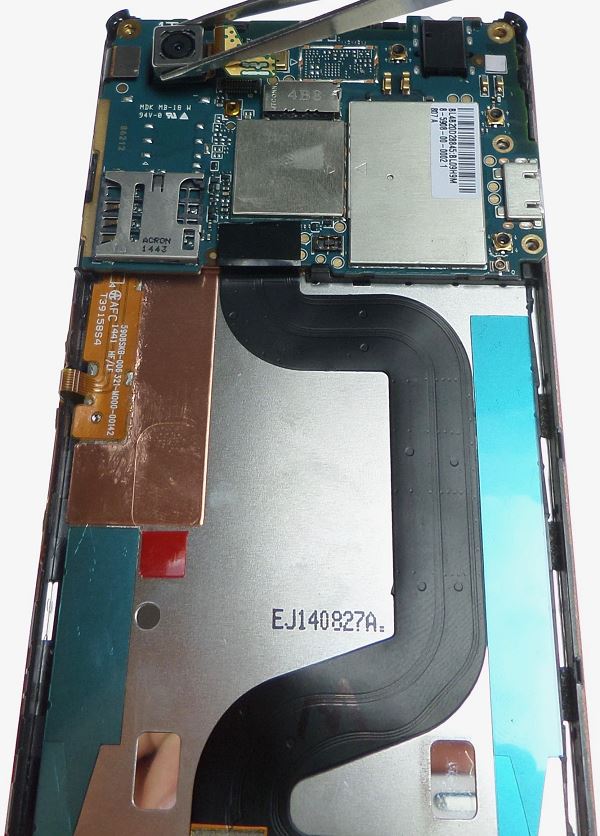
Still using the plastic spatula, remove the second table with the same manipulation.
Using a clip remove the camera you will be manipulating withgreat care.
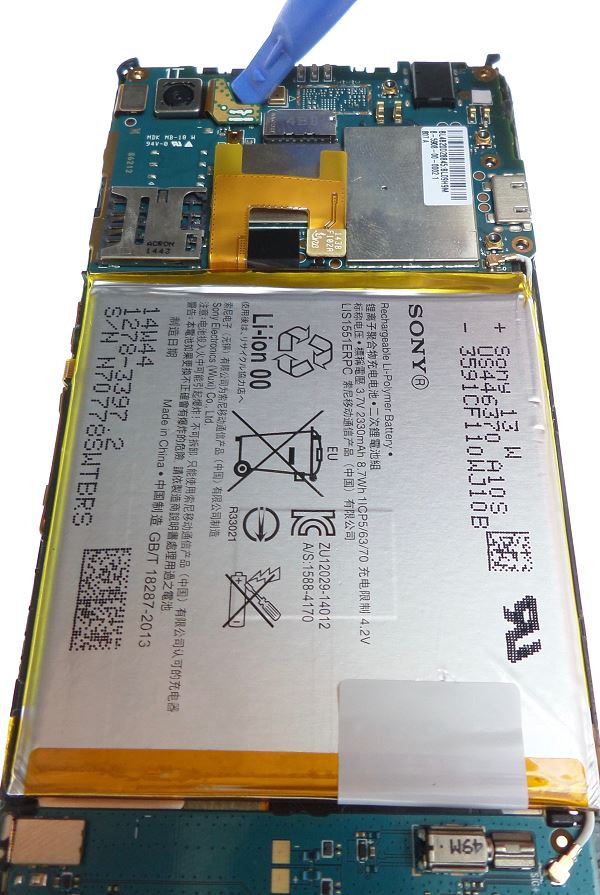
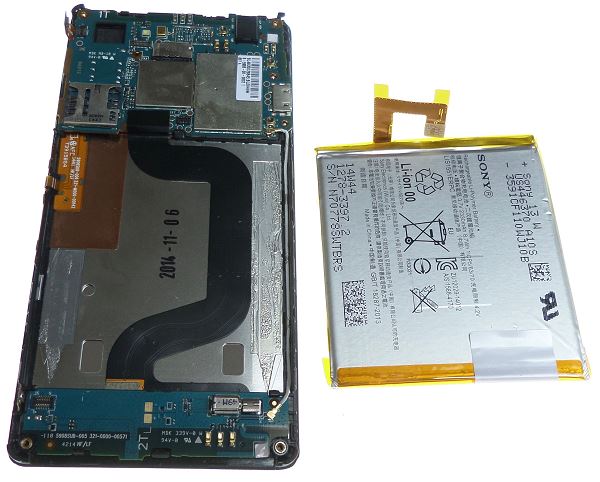
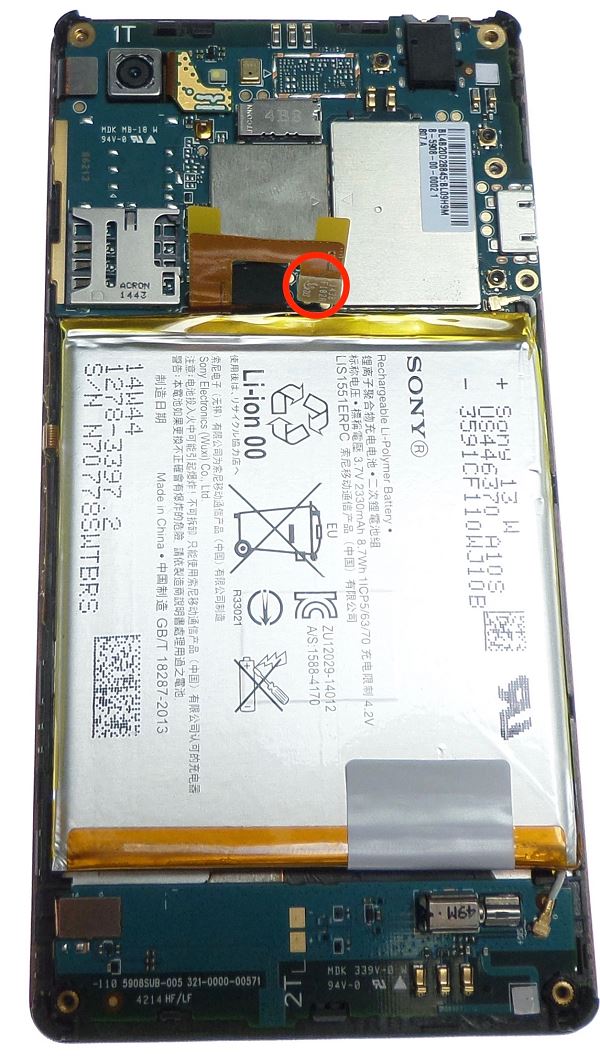
Using your spatula remove the battery.
To do this slide the spatula between the battery and the chassis and then leverage the battery will detach then. Be careful when you slide the spatula not to damage the battery with the spatula corner.
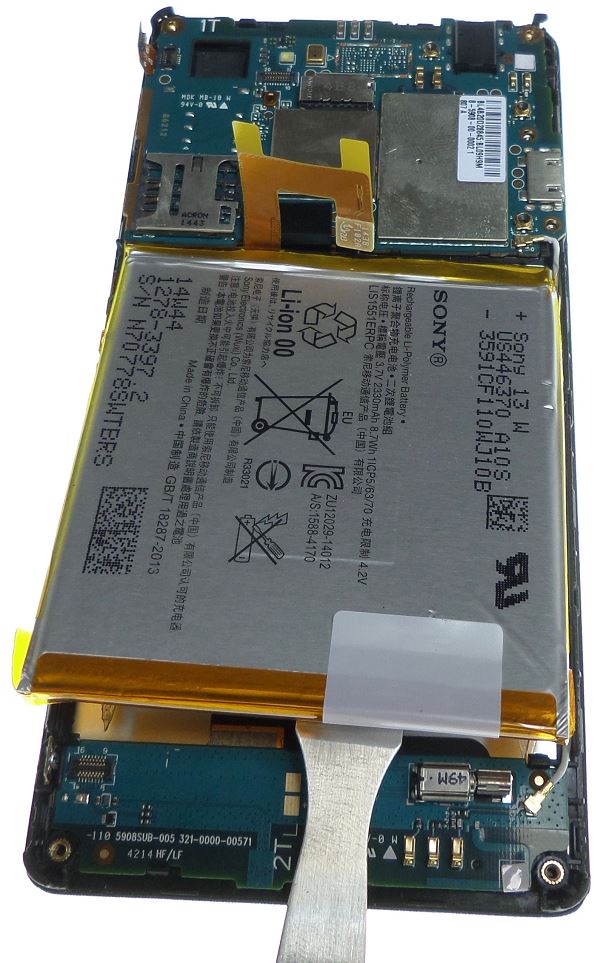
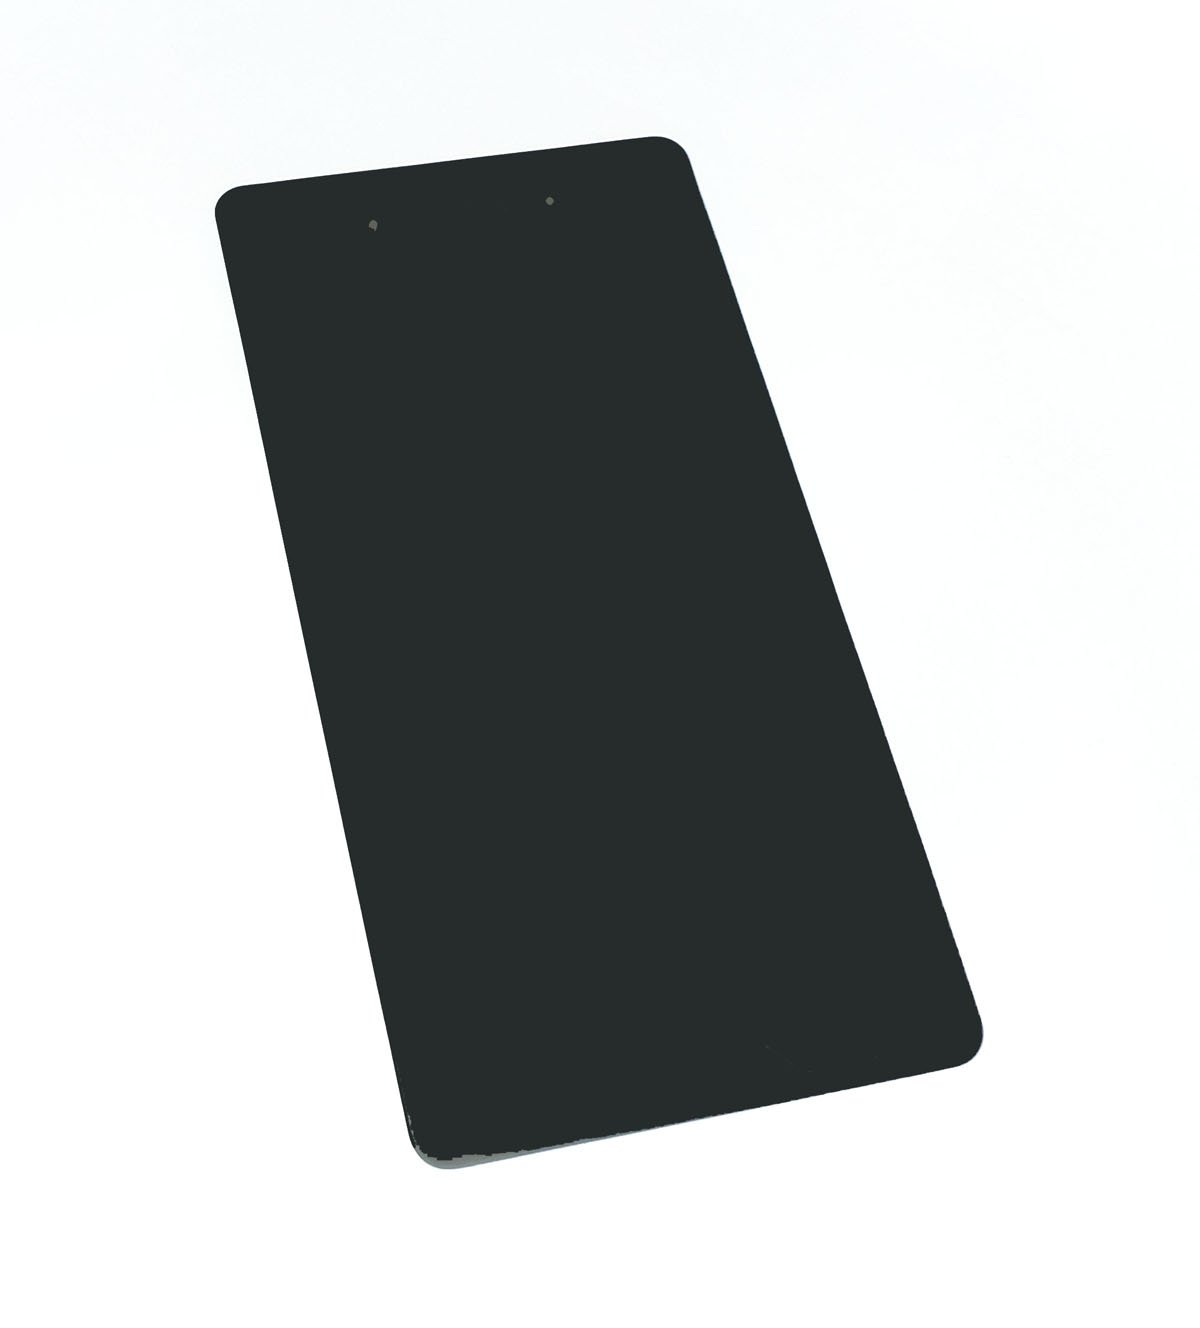
Disconnect the screen from the screen using the plastic spatula.
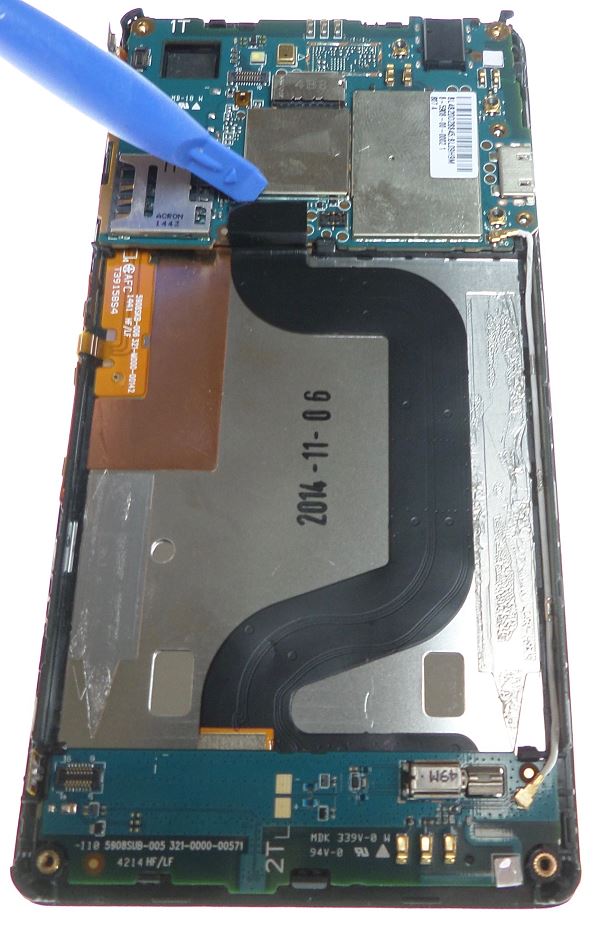
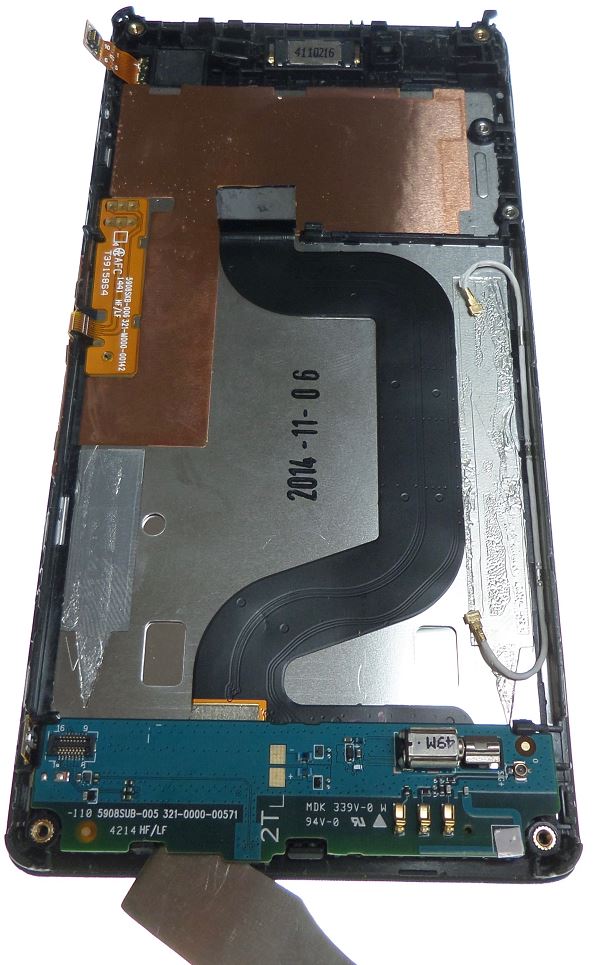
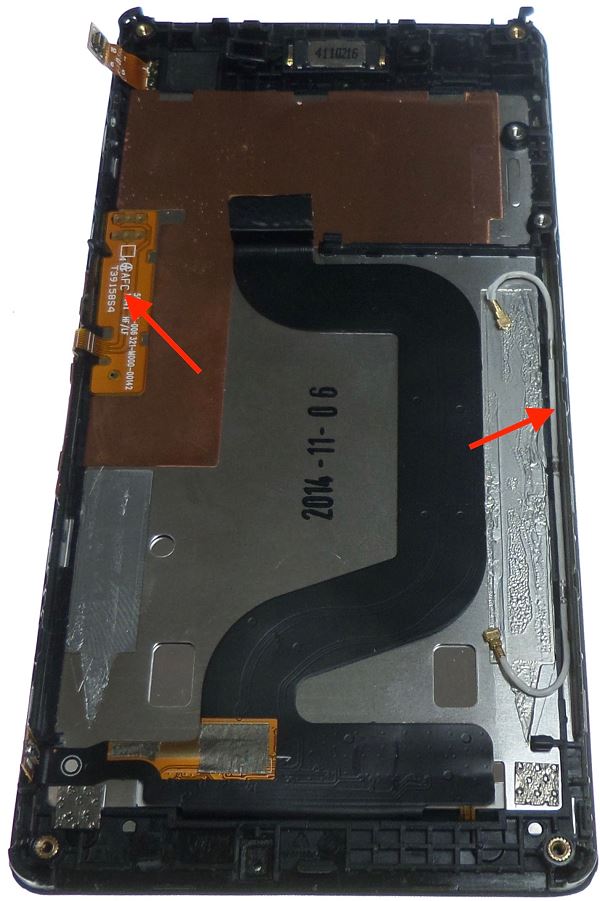
Then We are going to remove the motherboard, slide the corner of your spatula in the middle of the motherboard as in the picture then make a small leverage.
Be careful not to break the clips because the card mother is clipper in addition to being glued to the chassis. Do not force, remove the motherboard after all the clips are no longer holding it.
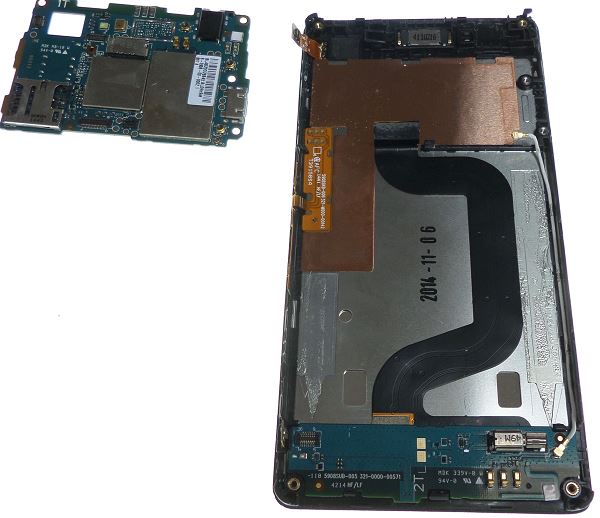
Then handle the motherboard carefully as it is the master and most costly element of your smartphone.

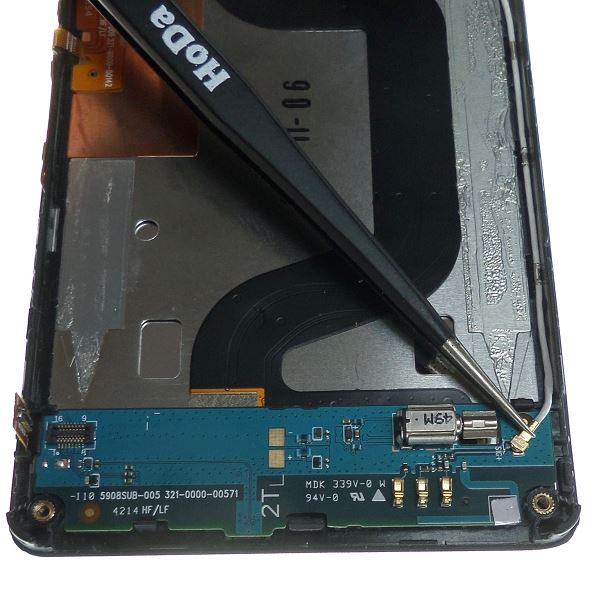
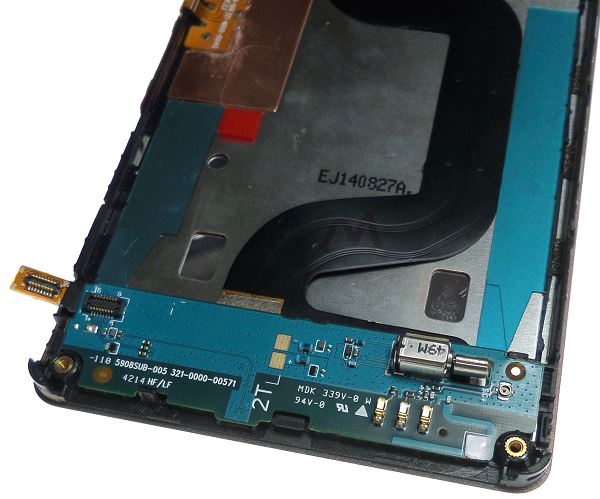
Using a pliers remove the second side of the coaxial cable , like the first time.
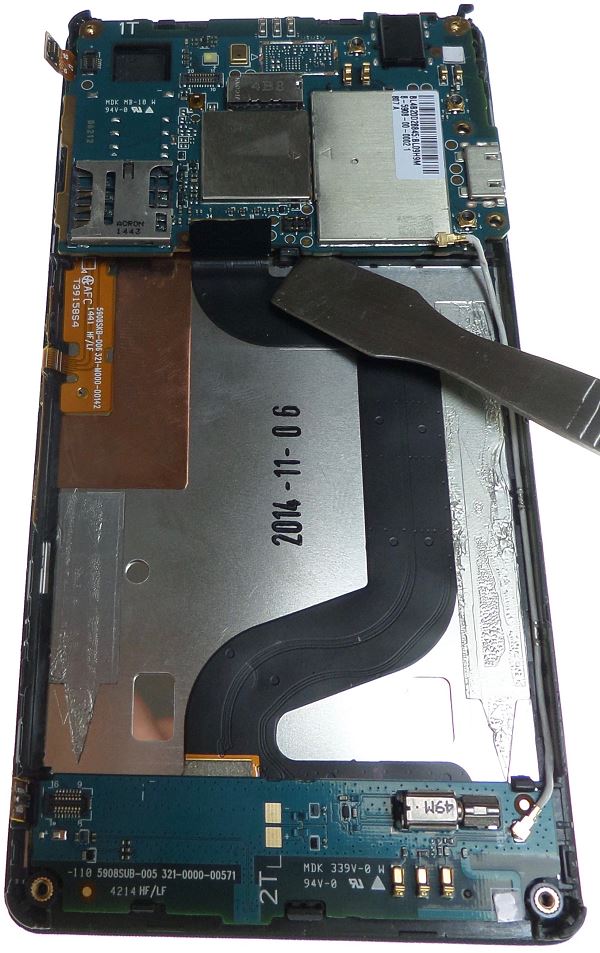
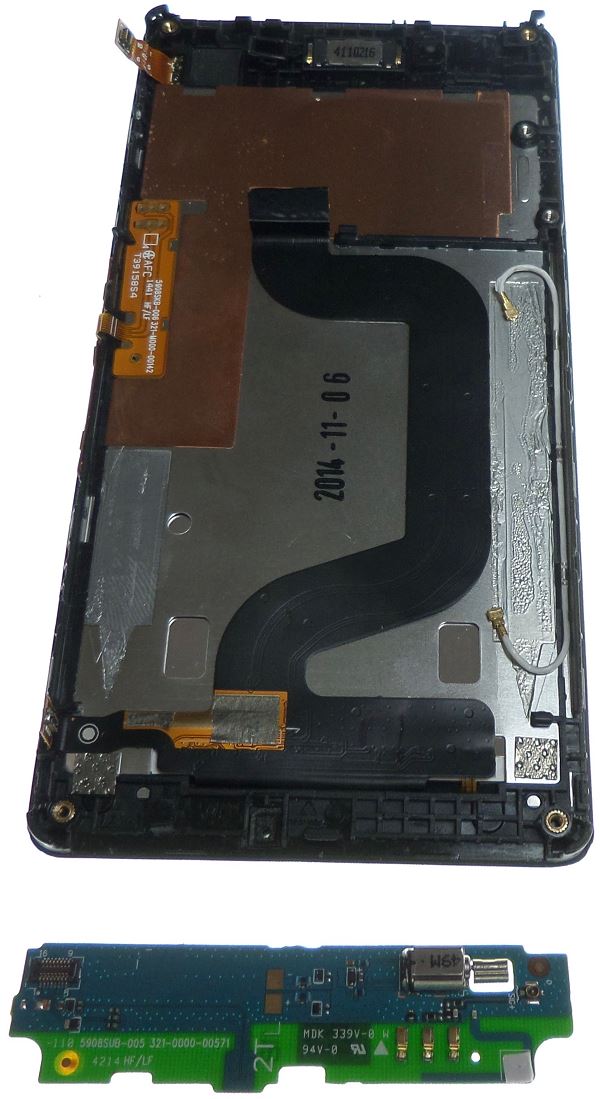
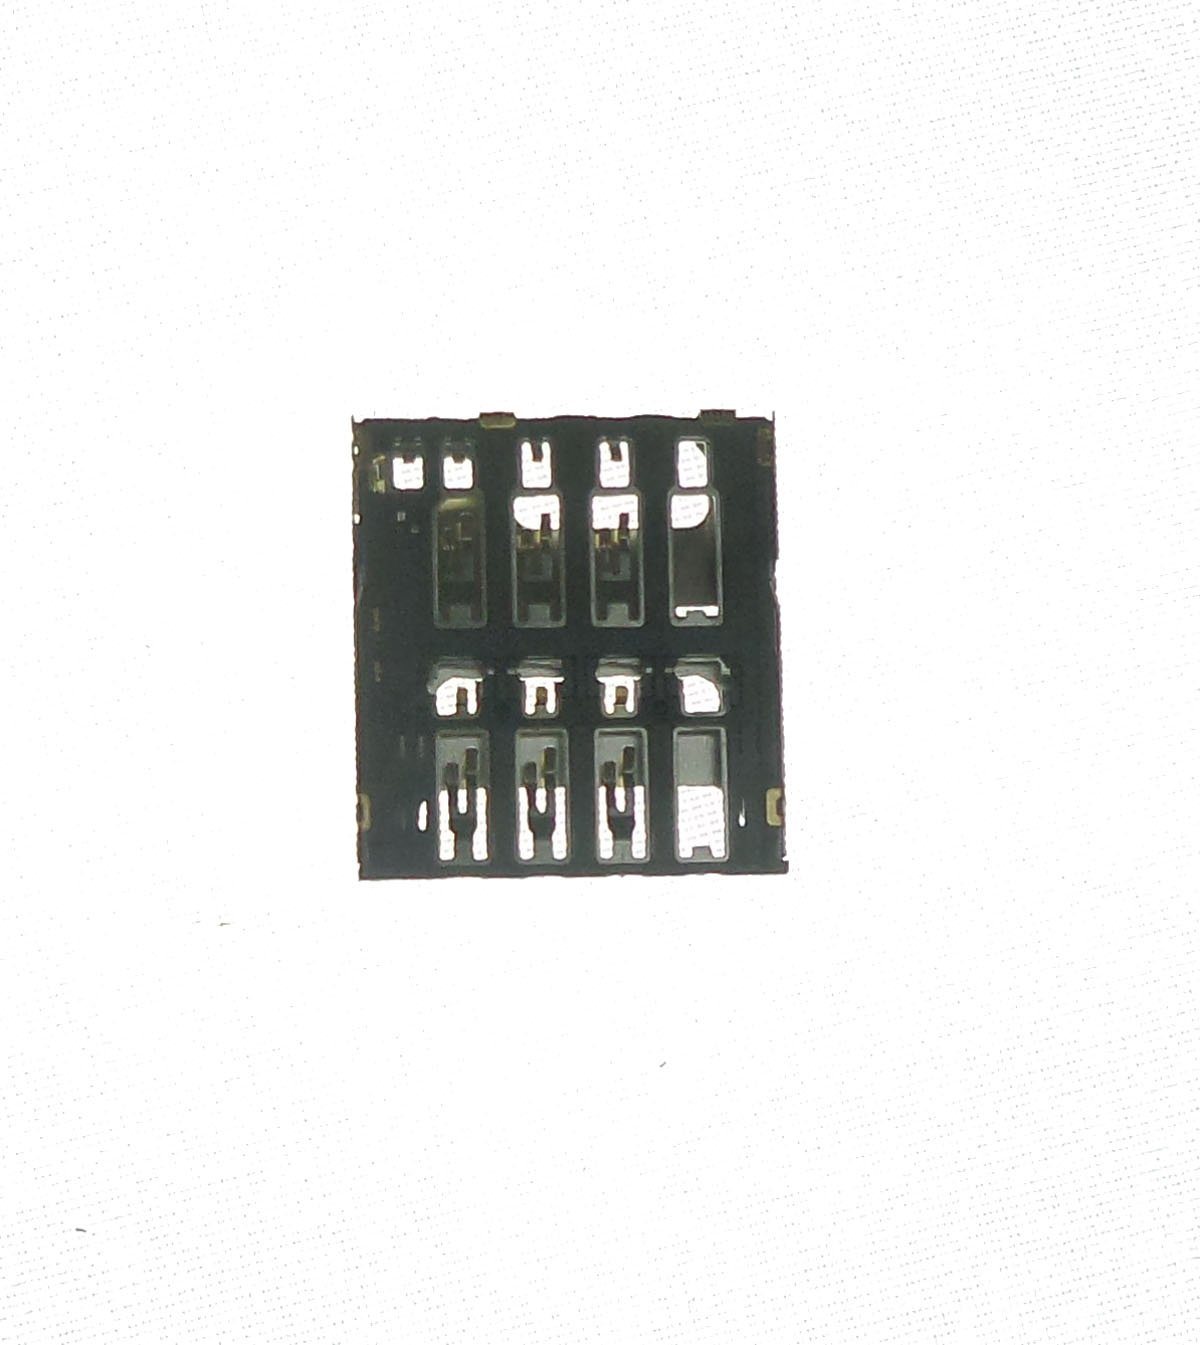
 Then using the spatula remove the second part of the card. Like the other card, it is clipper and paste. So handle it carefully because it is thinner than the previous one, so it is easy to break it. Make sure that all clips are removed when removing the card.
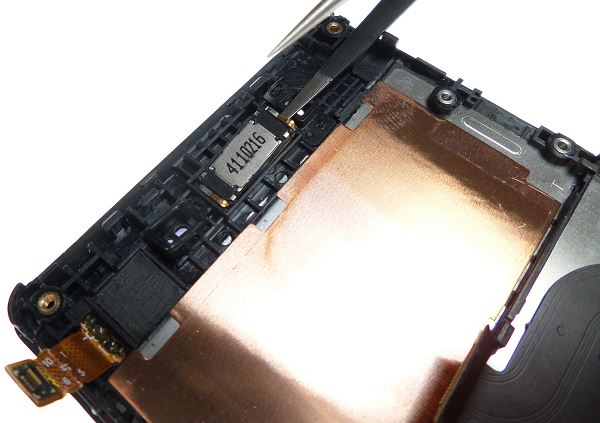
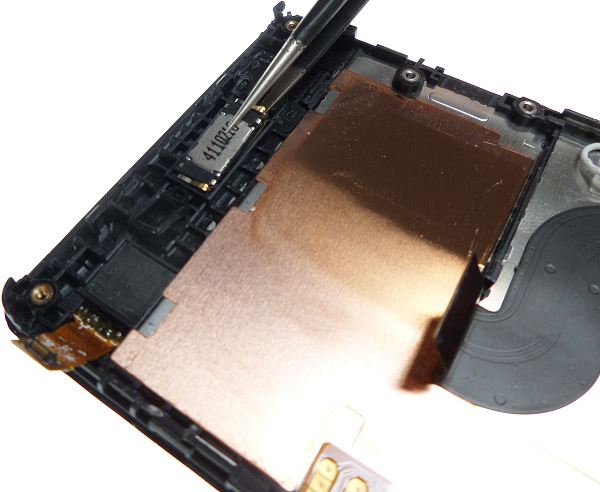
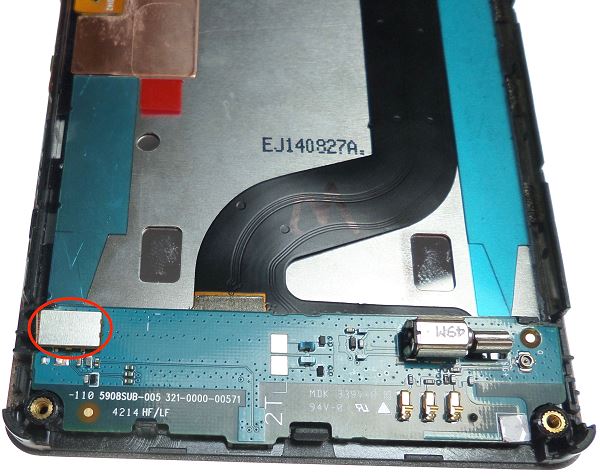
Using a clip remove the headset speaker. > Simply slide the tip of your clip to take off the speaker and then remove it.
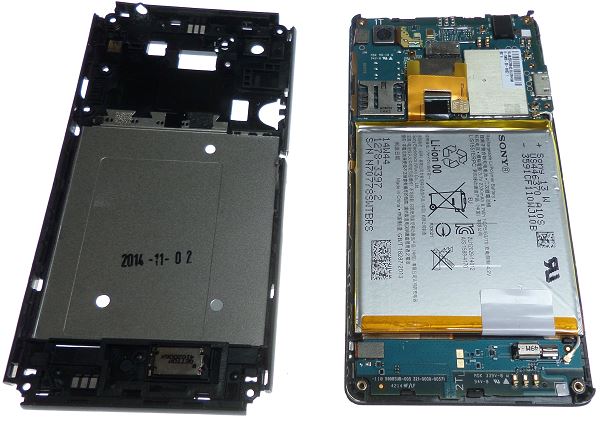
We will therefore prepare r the chassis to mount the smartphone.
On the old chassis, remove the white tablecloth, then the tablecloth containing the volume and power buttons. Peel off the tablecloth with a spatula after heating. They will be used for the new chassis.
Then install the disassembled components on the new chassis.
Then reload the motherboard manually.

Then, reconnect the tablecloth by hand.

Place the earspeaker.
Then bend the tablecloths so that they do not bother you when laying the motherboard.
Reinstall the motherboard by simply clipping it. Then reconnect the table.

Using a clip reassemble the camera. Then reconnect the slick.


Reassemble the battery then reconnect the tablecloth
Locate the 6 screws and then screw them back in.
Once the screws have been reassembled, reinstall the screws by hand.
Reassemble the back shell by hand.
Step 8: Reassembling the rear hull
Reassemble the back cover by hand.
This tutorial is finally over! It's up to you to play!

Delivery Date
Order before 14 h
for delivery between 03/05 and the 06/05/24
Approximate date using Suivi GRATUIT moreInfo gb
gb


COMMENTS
No customer comments for the moment.